Manage the Documents Sync Tool
The Documents Sync tool is a tray application that opens a document using its associated application, in your local Microsoft Windows configuration, so you can view and edit your documents.
Contents
Install the Documents Sync tool on your computer
Settings- Installation
- Click Settings > Installation.
-
Click Documents Sync.
Note to the admin: if the users do not have access to the Installation page, you can copy the link available in this page and send it by e-mail. - Open and run the file.
- In the Select Setup Language dialog box, select your preferred language and click OK.
- In the Setup - Documents Sync dialog box, click Next.
- Select one of these options:
- To install the tool in the default folder, click Next.
- To install the tool in a different folder: click Browse > select the folder > click OK > click Next.
- Click Install, then click Finish.
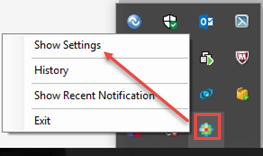
- On your task bar on the bottom right of your screen, right-click the Documents Sync icon, then click Show Settings.
- In the Settings dialog box, enter your site's CCH iFirm URL address, then click Authorise.
- In the login page, enter your CCH iFirm username and password, then click Login.
- Click Yes to allow the tool to access to your CCH iFirm account.
- Optional: Edit the default retention and retry settings.
- In the Settings dialog box, click OK.
Install a new version of the Documents Sync tool
Every time a new version of the Documents Sync Tool becomes available, a message displays on your screen. You must re-install the tool to obtain the new version.
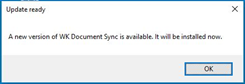
- Click OK on the Update Ready message.
- In the Select Setup Language dialog box, select your preferred language and click OK.
- In the Setup - Documents Sync dialog box, follow the steps to complete the installation (see the install steps above).
Manage the Documents Sync tool settings
Once you have installed the sync tool on your computer, you can edit the settings at any time. You can also view a history of the changes, and the most recent notification.
Click the Documents Sync icon in your task bar on the bottom right of your screen, then click your required option.
Settings
You can edit the retention and retry settings.
- Retention period: When you open a document, the Documents Sync tool stores a copy of that document in a temporary folder on your PC. The Retention period setting specifies how long (how many days) the document stays in the temporary folder before it is removed.
- Retry: When you edit and save a document, the Documents Sync tool sends the new version of the document back to Documents. In the event of an error, the Retry settings determine how many times the system will try to send the document back (retry count), and how long it will wait between each attempt (retry time). You may want to adjust these settings if you have a slow Internet connection.
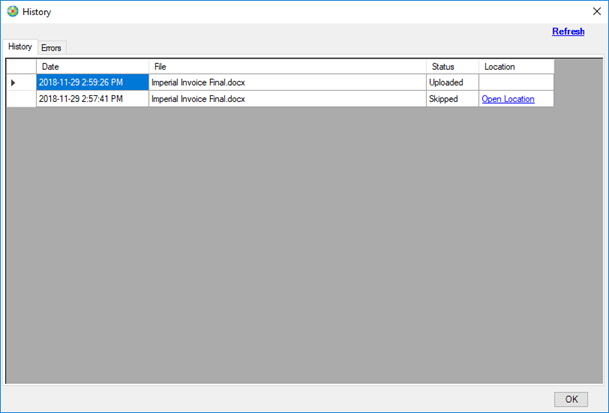
History
The History tab displays a list of the Documents Sync tool’s actions. If there is an error sending a new version of a document back to Documents, you can come in here to view the message and click the Open Location link to open and view the document. You can then save the document in another location, before manually uploading it via one of the Documents tabs in your CCH iFirm site.
The Errors tab displays any errors the Documents Sync tool encounters.
Recent Notification
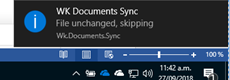
Every time the Documents Sync tool performs an action, it displays a message on your screen, in the bottom right corner. If you miss the most recent notification, you can click Show Recent Notification to display it again.