Edit a table
Intranet - Add and Edit Content
Contents
Adjust the number of rows and columns in a table
You can add more rows and columns to a table or delete surplus rows and columns.
Add or delete a row
- Position your cursor in the table cell of which you want to add a row above or below or delete the row.
- Select one of the following methods:
- Right-click the cell and click Insert Row Above, Insert Row Below, or Delete Row, as required.
- Right-click the cell, click Table Properties, then click the Table Design tab. Click the increase (plus sign) icon or decrease (minus sign) icon beside Rows, then click OK.

Add or delete a column
- Position your cursor in the table cell of which you want to add a column next to or delete the column.
- Select one of the following methods:
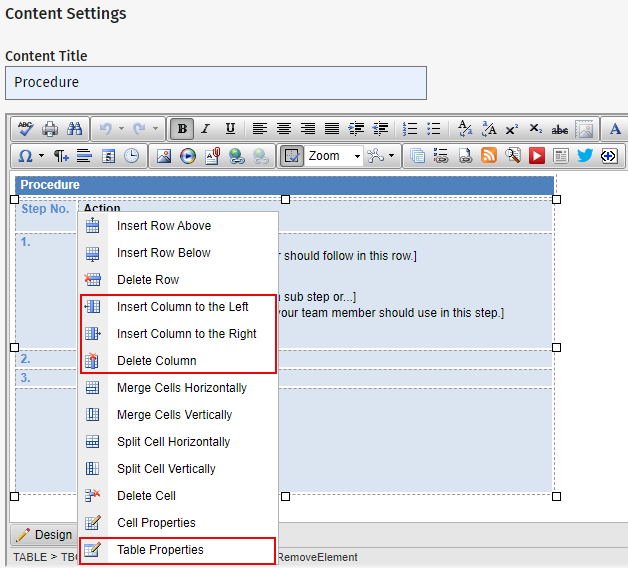
- Right-click the cell and click Insert Column to the Left, Insert Column to the Right, or Delete Column, as required.
- Right-click the cell, click Table Properties, then click the Table Design tab. Click the increase (plus sign) icon or decrease (minus sign) icon beside Columns, then click OK.
Adjust the number of cells in a table
You can merge a cell with the one below it or right of it. You can then split a merged cell vertically or horizontally to return it to its original state. You can also delete a cell, if required.
Merge cells
- Position your cursor in the cell you want to merge.
- Select one of these methods:
- Right-click the cell and click Merge Cells Horizontally or Merge Cells Vertically, as required.
- Right-click the cell, click Table Properties, then click the Table Design tab. Click the cell you want to merge, click the increase (plus) icon beside Column Span or Row Span, then click OK.

Split cells
- Position your cursor in the cell you want to split.
- Select one of these methods:
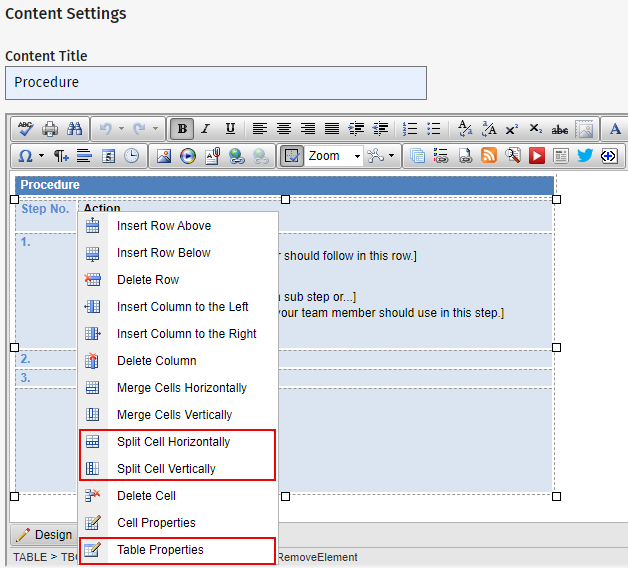
- Right-click the cell and click Split Cells Horizontally or Split Cells Vertically, as required.
- Right-click the cell, click Table Properties, then click the Table Design tab. Click the cell you want to split, click the decrease (minus sign) icon beside Column Span or Row Span, then click OK.
Delete a cell
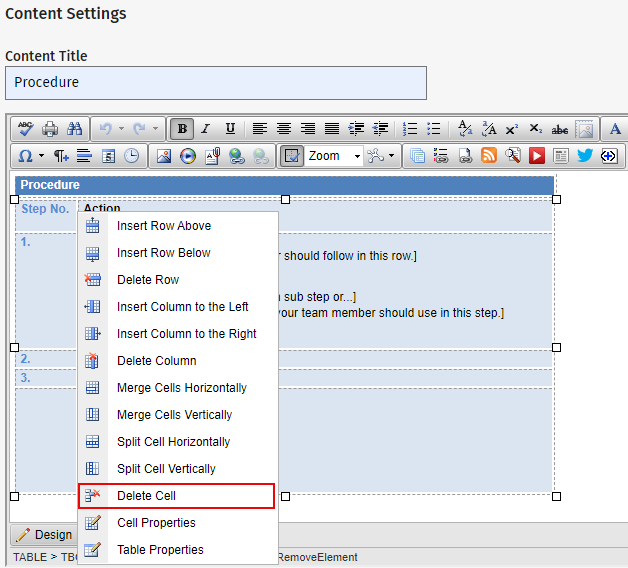
- Position your cursor in the cell you want to delete.
- Right-click the cell and click Delete Cell.
Edit a cell's properties
You cannot drag individual rows or columns to adjust their width or height, you must manually set these measurements in the cell properties.
- Right-click the cell and click Cell Properties.
- Adjust the height, width, content alignment, background colour, and more, as required.
- For example, to adjust a cell width: click a cell in the row or column you want to adjust, then type pixel width (such as 210 pixels) or use the arrows in the Width field to change the width.
- Entering a pixel width will affect the whole column, in other words, the other cells in the column will be affected by this change.
- Adjusting the width of a cell will only work correctly where all the cells in the column do not contain any content that is wider than the width set. For example, if one of the cells in the column has an image which is wider than the width set, it will force the width of all the cells in the column to that of the image.
- Click OK.
To apply your changes to all cells in the table, click Select All below the grid.
Edit the table properties
- Right-click any cell and click Table Properties.
- Adjust the table height and width, cell spacing and padding size and alignment of the table, as required.
- Set a background colour or image, build a style for the table or apply a pre-designed class, as required.
- Click OK.