Import Receivable Balances
Settings- Installation
You can import your receivable records into CCH iFirm. To do this, you need to prepare a .csv file (spreadsheet) using the template provided in CCH iFirm. When your spreadsheet is ready, you can import it into CCH iFirm. Once you have imported your receivable balances, you can review this data using the Aged Accounts Receivable Report, and use it to compare to the report you generated in your previous system.
Contents
Download the sample .csv file
You can prepare a .csv file of your receivable records using the template provided in CCH iFirm.
- Click Settings > Installation.
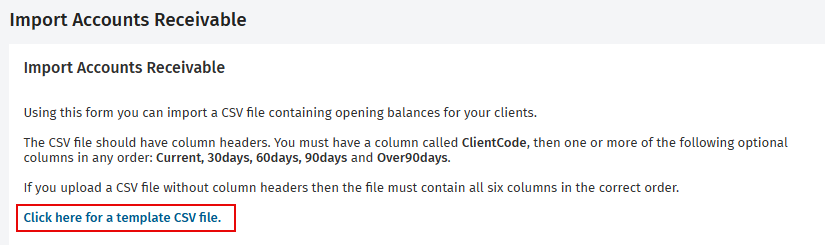
- On the Installation page, click Import Accounts Receivable.
- Click the Click here for a template CSV file. link to download the sample .csv file to your computer.
- Save the .csv file to your computer - it will open with Microsoft® Excel®.
Prepare the receivable balances .csv file
Next, you need to populate the spreadsheet with your data.
You can use this table as a guide for preparing a .csv file of your receivable records. You do not need data for all the column headings. You can remove the column altogether if no data exists for this column.
|
Column Description |
Data Format |
Information |
|---|---|---|
|
ClientCode |
Example: CLT001 |
This is required field. |
|
Current |
Numeric data |
|
|
30days |
Numeric data |
|
|
60days |
Numeric data |
|
|
90days |
Numeric data |
|
|
Over90days |
Numeric data |
|
When preparing a .csv file of your receivable records, you will need to ensure that:
- You have a client code for each row. The client code must match the code of a contact in CCH iFirm. You can only have one row for each client code in your .csv file.
- The data for the aged columns is numeric. The numbers must be valid and each cell must contain data. If the value is zero, enter 0 (the cell must not be empty.
- All column headings must match the options supported by CCH iFirm (for example, ClientCode, Current). You cannot have two column headings with the same name (for example, two Current columns).

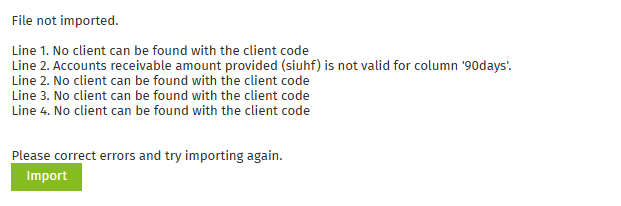
If there are any problems with your spreadsheet, these problems will be displayed and the spreadsheet will not be imported.
Import the receivable balances .csv file
- Click Settings > Installation..
- Click Import Accounts Receivable.
The Import Accounts Receivable page is displayed. - Select a Billing Entity from the drop-down list, if required.

- Use the calendar
 icon to select the Import as of date.
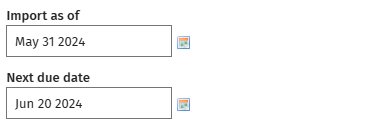
- This is the date the Aged Receivables Report you are using was created. For example, if your receivables cut-off date is May 31, select this date for the Import as of date.
- Use the calendar icon to select the Next due date.
- The system uses this date to set the appropriate aging in your receivables. Following on from the above example, you would set the Next due date to be the date which the invoices as at May 31 2024 will become due. For example, if the invoices are normally due on the twentieth day of the following month, you would select June 20 2024.
- The system uses this date to set the appropriate aging in your receivables. Following on from the above example, you would set the Next due date to be the date which the invoices as at May 31 2024 will become due. For example, if the invoices are normally due on the twentieth day of the following month, you would select June 20 2024.
- Click Choose File or Browse to locate and select the .csv file containing your receivable balances.
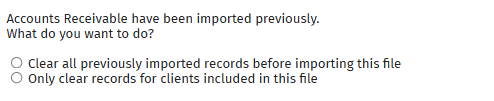
- Select either one of these options, depending on which records you want to override:
- Clear all previously imported records before importing this file; or
- Only clear records for clients included in this file.
- Click Import..
- Check the import notification to confirm that your data was imported successfully.

Re-import receivable balances
You may want to re-import receivable records for one or more clients, for example if you make a mistake or get a new client.
If you created payment transactions that were allocated to imported balances, then re-importing balances will clear all allocations.
- Clear all previously imported records before importing this file.
- Only clear records for clients included in this file.
Check imported data
Receivables - View Only
You can generate a receivables report or consult an individual client record to check imported data.
- Use the Aged Accounts Receivable Report to check your imported balances.
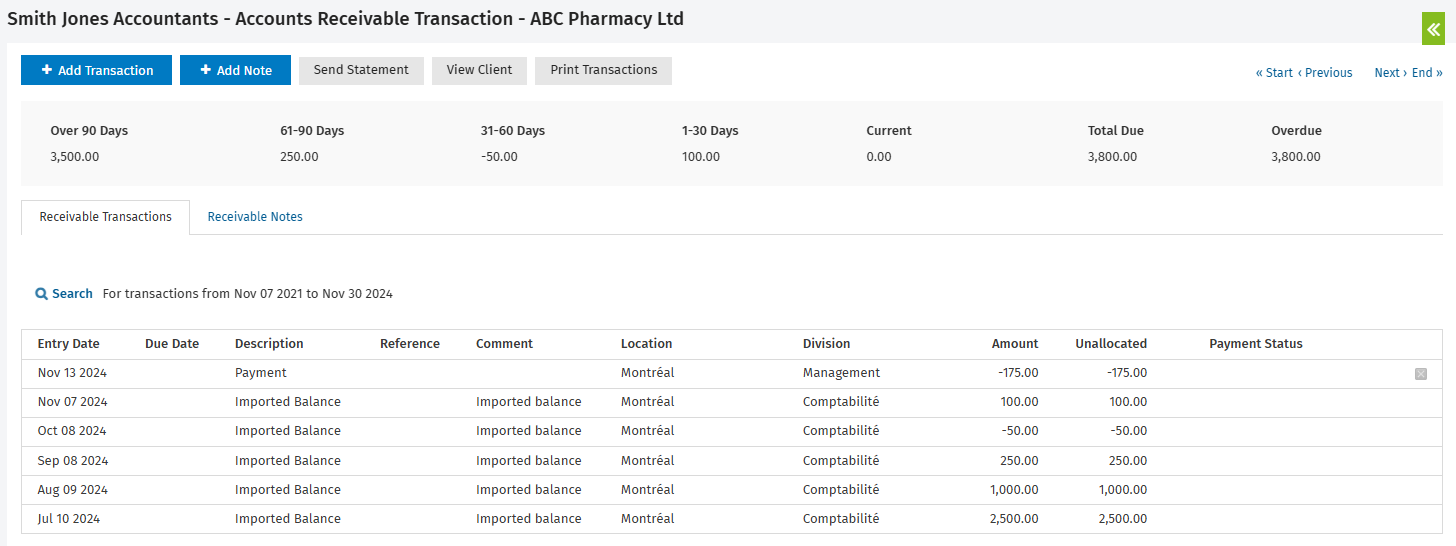
- Go to Jobs & Billing > Accounts Receivable and check a client's receivables record.
- An imported balance transaction is created for each aged balance imported.