Manage portal e-mail templates
Settings - Portal or Portal - Admin
CCH iFirm supplies templates for e-mailing inbound files, outbound files and invitations. You can edit a default e-mail template instead of starting a new one from scratch. You can delete these templates if you do not need them. You can also set up your own e-mail templates. You can set the default templates in the portal settings. You have the option of sending your e-mail as HTML or plain text.
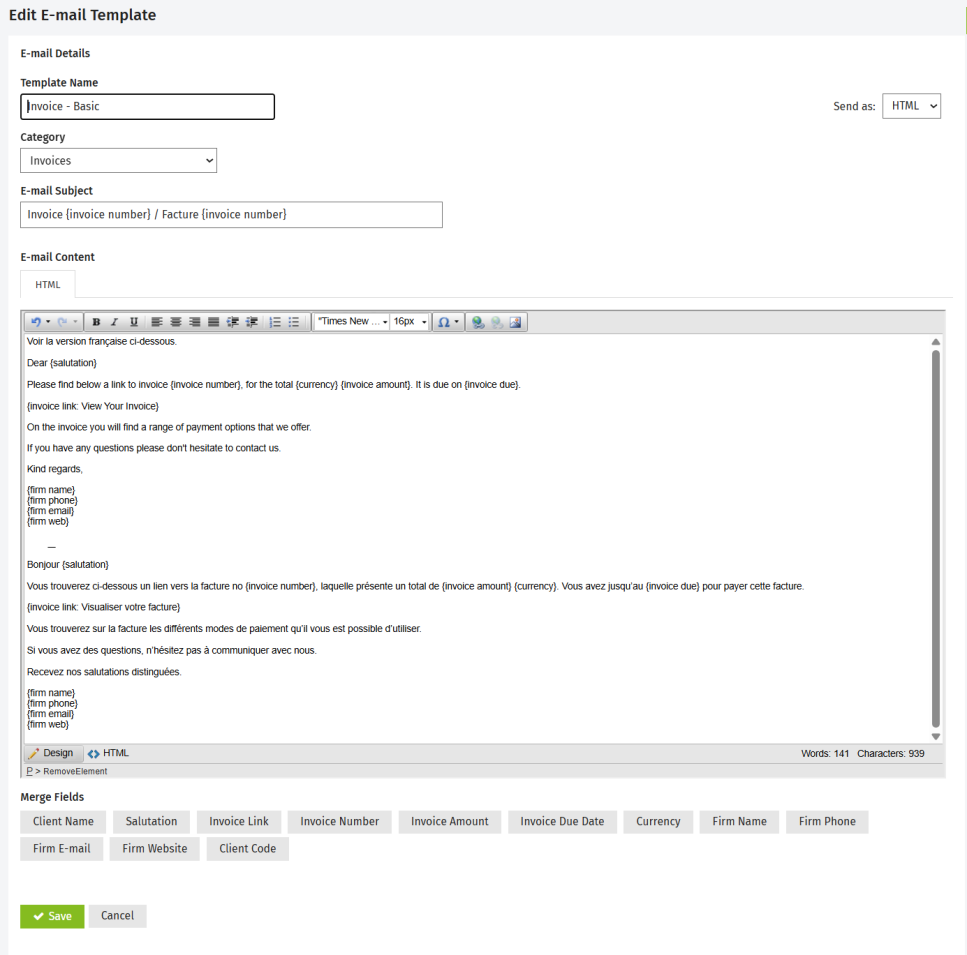
Edit a template
- Click Settings > Portal > Portal Settings.
- Click Edit Templates.
- Click a portal template in the list to open it for editing.
- Edit the template as required.
- You can edit and reformat the text using the editor toolbar. The functions in the toolbar are similar to those used in Microsoft Word.
- The e-mail template HTML editor is the same as the one used in the Jobs & Billing module - view information on using merge fields in an e-mail template.
- Click Save.
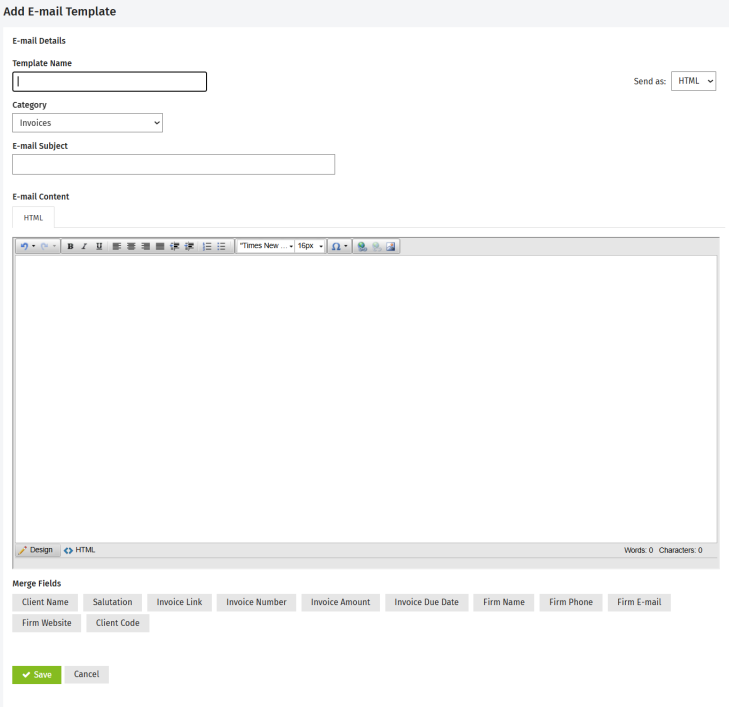
Add a template
- Click Settings > Portal > Portal Settings.
- Click Edit templates.
- Click Add Email Template.
- Type your template name.
- From the Category list, select Portal.
- Type the e-mail subject text.
- Select how you want to send your e-mail (HTML or Plain Text).
- Type and format the e-mail content message, and insert merge fields as required using the buttons on the right hand side of the screen.
- Click Save.
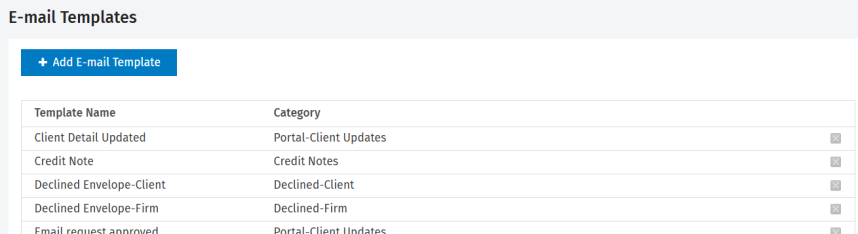
Delete a template
- Click Settings > Portal > Portal Settings.
- Click the Delete button
 at the end of the row of the template you want to delete.
 - Click Yes to confirm.