Send a document to a contact
You can create a document that is merged with contact details and download it to your computer. You can then print the document and send it to the contact. For Word documents, you can apply a document style. Jobs & Billing users can automatically assign a disbursement to a particular job with content billing (if this has been set up by your Intranet administrator).
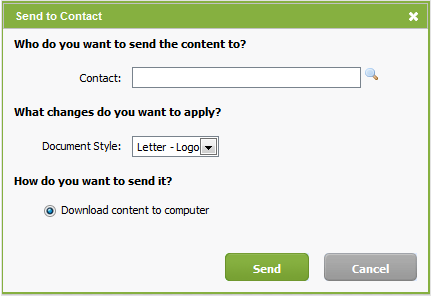
- Select Send to Contact from the Actions menu on a content list or search results page or click Send to Contact on a Content Information and Options pop up box.

- Select the contact.
- Under the Who do you want to send the content to? heading, start typing the contact name to see a list of suggestions. Click the name of the contact you want to send the content to. Alternatively, click the search
 icon to search for a client.
 - The contact details, such as their name, are taken from the contact record and merged with Word documents.
- Select a document style, if applicable.
- For Word documents, a What changes do you want to apply? section is displayed, allowing you to select a document style that will be applied.
- A document style is a template that adds a style to the document, such as the firm's letterhead.
- Select the content billing option, if applicable.
- If your firm uses content billing, a Do you want to charge for this content? section is displayed. Select Charge for this content to display the additional options:
- Select Job - you must select a job to add the Intranet Content disbursement to.
- Charge Amount - your firm will have set a default amount that you can change, if required.
- Invoice Description - your firm will have set a default description that you can change, if required.
- A disbursement will be automatically added to the job in Jobs & Billing.
- Click Send to download the document.