Add, edit or delete automatic disbursements
Settings - Jobs & Billing
You can set up disbursements to be added automatically to a job whenever a certain type of job is created. For example, you could set Jobs & Billing to automatically add a disbursement to cover photocopying whenever an annual accounts job is added. Click here to learn more about disbursements and the options available in CCH iFirm.
Contents
Add an auto allocated disbursement
- Click Settings > Jobs & Billing.
- Click Auto Allocate Disbursements.
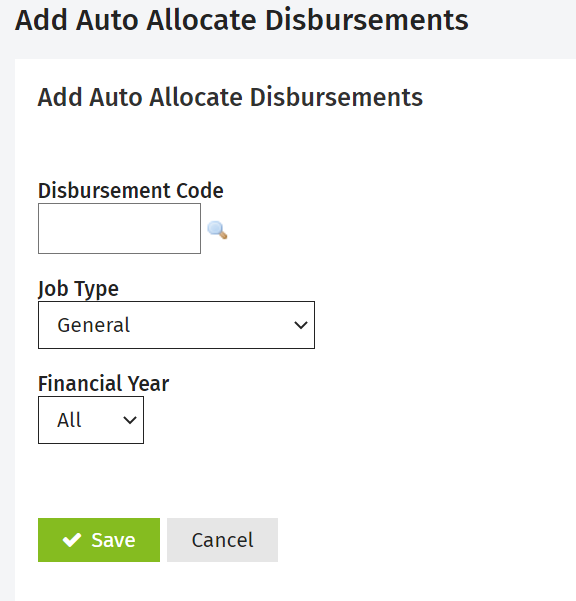
- Click Add Auto Allocate Disbursement.
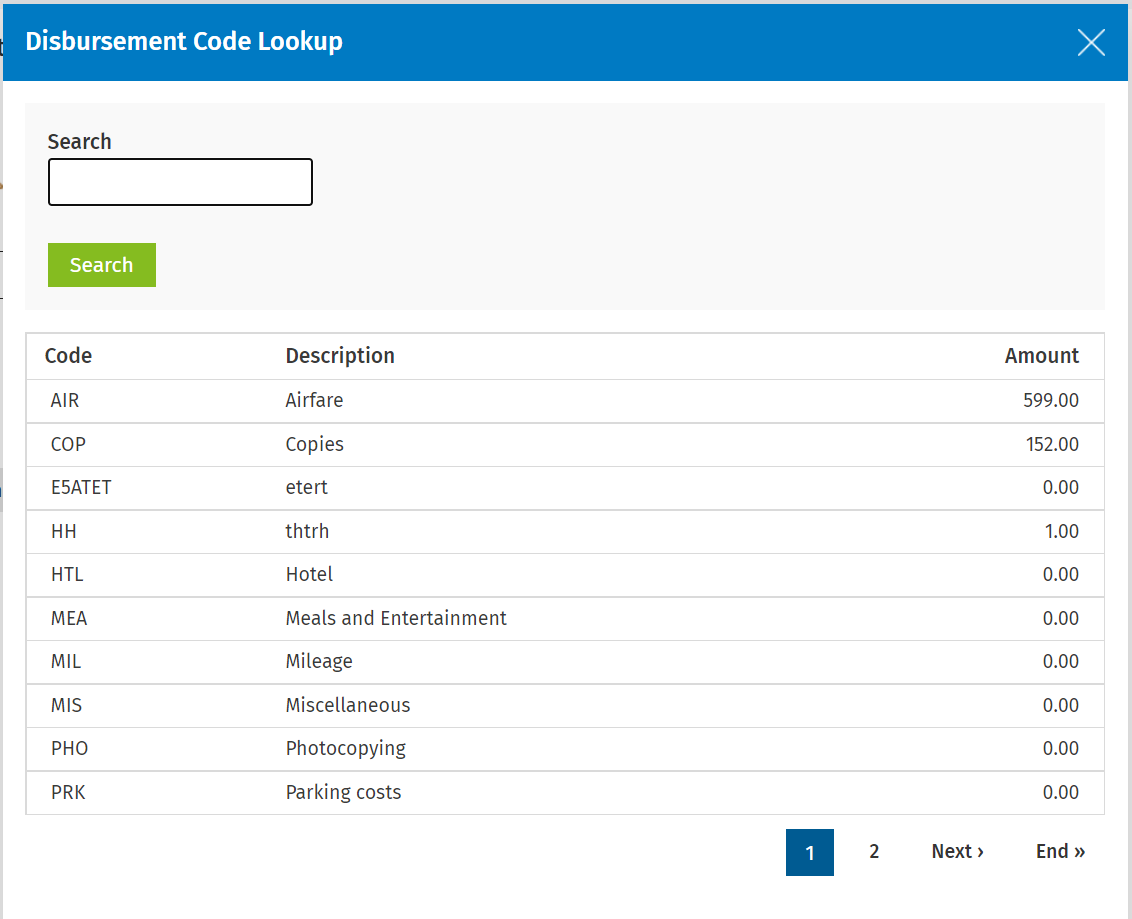
- Click the search
 icon beside the Disbursement Code field, then select the appropriate disbursement code.
- Select the required job type and financial year (if applicable) from the drop-down lists.
- Click Save.
Edit automatic disbursements
- Click Settings.> Jobs & Billing.
- Click Auto Allocate Disbursements.
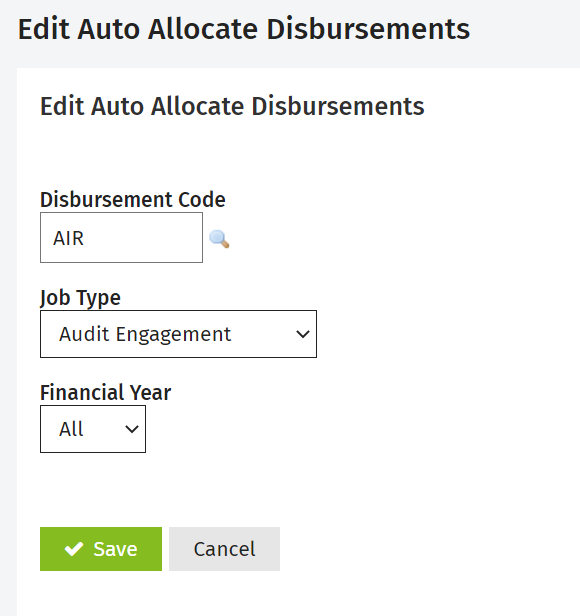
- Click on the disbursement you wish to edit.
- Make the desired modification.
- Click Save.

Note: Previously created jobs will not be affected by these changes.
Delete automatic disbursements
- Click Settings.> Jobs & Billing.
- Click Auto Allocate Disbursements.
- Click on the
 next to the disbursement you wish to delete.
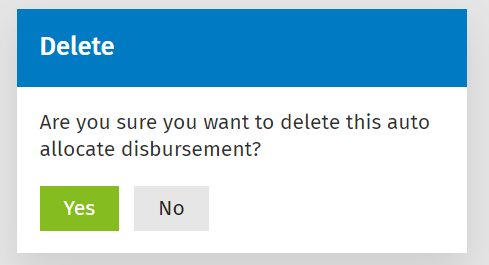
 - Click Yes on the confirmation message.
- Click Save.

Note: Previously created jobs will not be affected by these changes.

