Add checklists for jobs
Settings - Jobs & Billing
You can create checklists that are saved on each job, along with who completed each section and who reviewed it. This is very useful for auditing purposes. First, add a checklist, then add checklist items to it. Once this is set up, the checklist can be updated on the Job Details page.
Contents
Add a checklist
- Click Settings > Jobs & Billing.
- Click Checklists.
- Click Add Checklist.
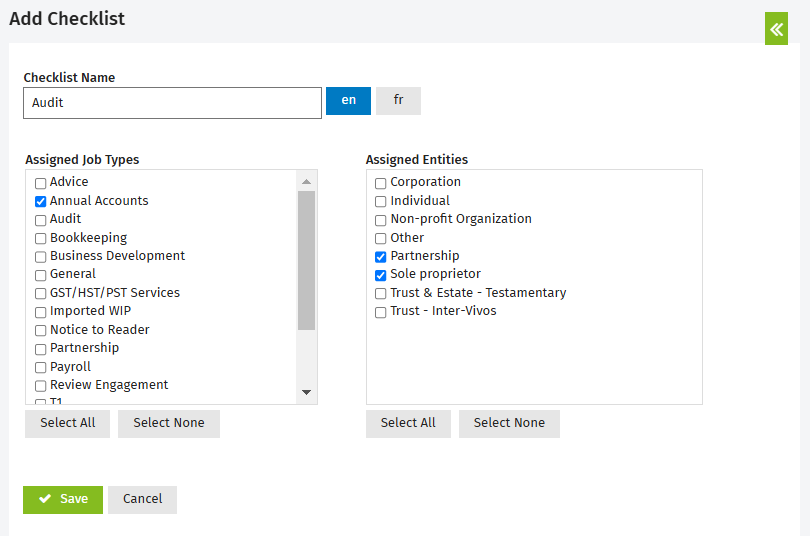
- Enter the Checklist Name. If your firm is also using CCH iFirm in French or if you have to communicate with some French speaking contacts, you have to click the
 button and then enter the French description of the label.
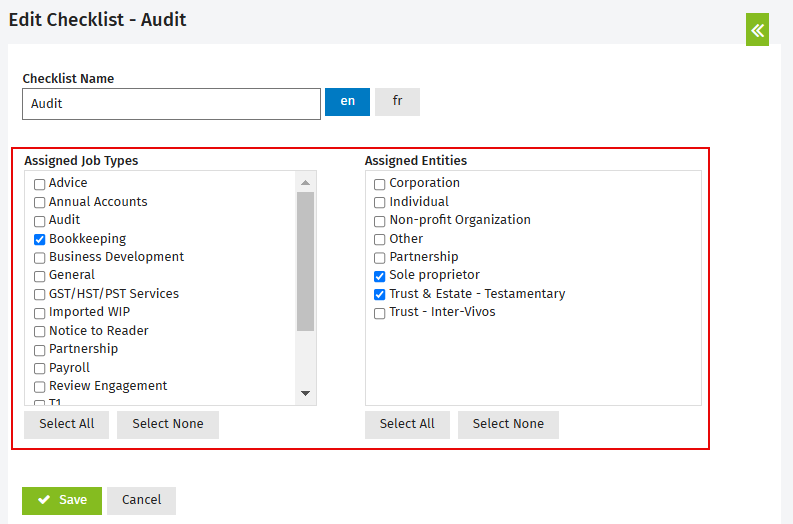
When adding a checklist, do not select the Assigned Job Types and Assigned Entities check boxes until you are ready to start using the checklist. Selecting these two items makes the checklist visible and updateable to users on all jobs that meet the criteria. If users update a job checklist, it will lock with the checklist items that existed at that time and subsequent changes/edits to the setup of the checklist will not flow to that job. - Click Save.
- Proceed to add checklist items.
Copy a checklist
- Click Settings > Jobs & Billing.
- Click Checklists.
- Click the green arrow next to Add Checklist, then click Copy Checklist.

- Select the checklist you want to copy.
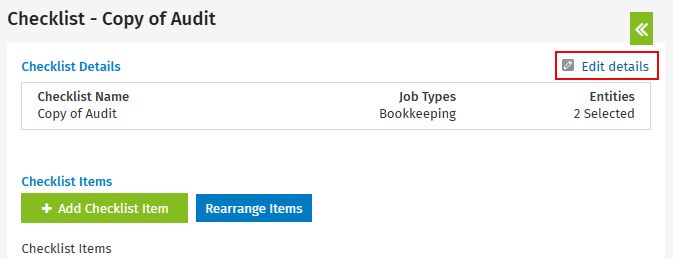
- Click the
 Edit details button.
 - In the Checklist Name field, enter a new name for the copied checklist.
If your firm is also using CCH iFirm in French or if you have to communicate with some French speaking contacts, you have to click the button and then enter the French description of the label.
 - Remove any job types or entities that are assigned to the checklist.
When adding a checklist, do not select the Assigned Job Types and Assigned Entities check boxes until you are ready to start using the checklist. Selecting these two items makes the checklist visible and updateable to users on all jobs that meet the criteria. If users update a job checklist, it will lock with the checklist items that existed at that time and subsequent changes/edits to the setup of the checklist will not flow to that job. - Click Save.
- Proceed to add checklist items.
Edit a checklist name
- Click Settings > Jobs & Billing.
- Click Checklists.
- On the Checklists page, click the checklist you want to edit.
- Under the Checklist Details panel, click the
 Edit details button.
- Edit the name.
- Click Save.
Delete a checklist
- Click Settings > Jobs & Billing.
- Click Checklists.
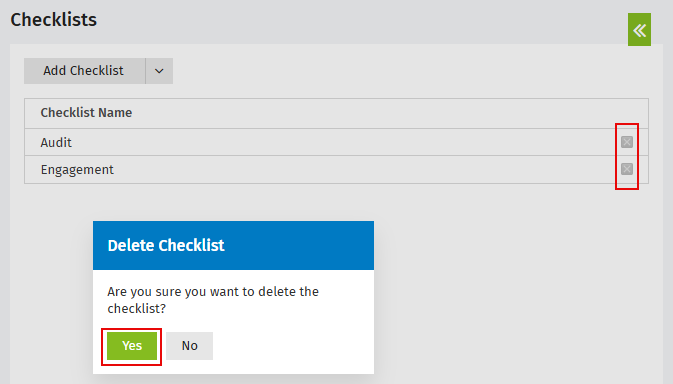
- On the Checklists page, click the delete
 icon for the checklist you want to delete.
 - Click Yes to confirm.
Add a checklist item
Once you have added or copied a checklist you can add items to that list.
- Click Settings > Jobs & Billing.
- Click Checklists.
- On the Checklists page, click the checklist you want to add an item to.
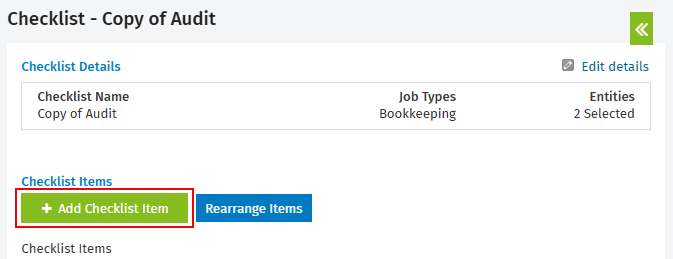
- Click Add Checklist Item.
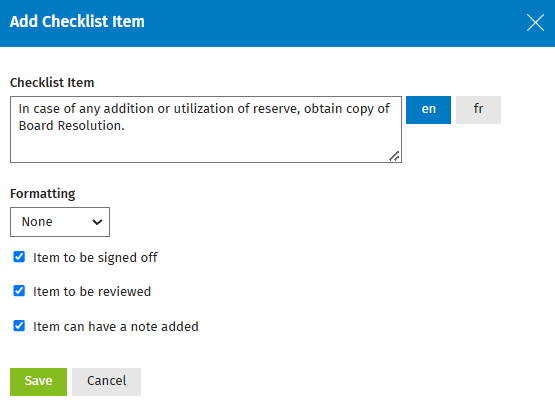
- Enter the details of the checklist item.
- Change the default Formatting option, if required:
-
The default setting is None (no formatting) but you can set the checklist item to be Bold, Italics or Underline.
-
This allows you to apply basic formatting to a checklist item, so you can create headers.
- Select the item features you require (you see these when you update the checklist via the Job Details screen).
-
Item to be signed off - this allows a user to sign off a checklist item when they complete it. The item is stamped with the user name, date and time.
-
Item to be reviewed - this is used when one user reviews a checklist item completed by another user. The item is stamped with the user name, date and time.
-
Item can have a note added - this allows you to type notes when updating the checklist.
- Click Save.
- If you are now ready to use the checklist, assign job types and entities to the checklist.
Edit a checklist item
You can edit the details of a checklist item or any of the selections you originally made.
- Click Settings > Jobs & Billing.
- Click Checklists.
- On the Checklists page, click the checklist containing the item you want to edit.
- Click the edit
 icon for the checklist item you want to edit.
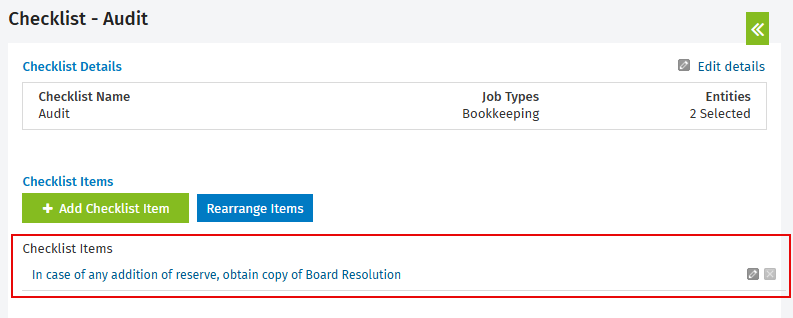
- Edit the item as required.
- Click Save.
Rearrange checklist items
You can change the order in which the checklist items appear.
- Click Settings > Jobs & Billing.
- Click Checklists.
- On the Checklists page, click the checklist containing the items you want to rearrange.
- Click Rearrange Items.
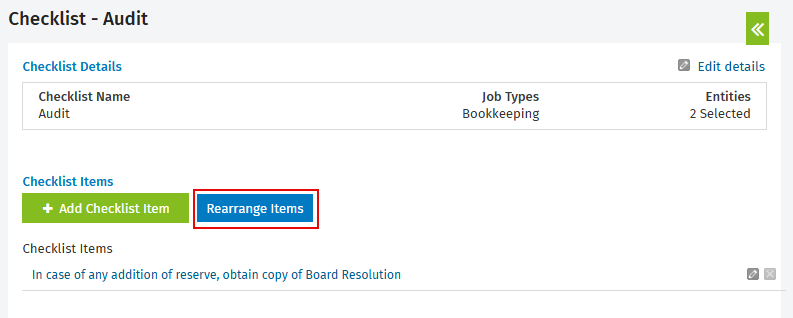
- Drag and drop the checklist items into the correct order.
- Click Save.
Delete a checklist item
If the checklist item has not been used in the system, you can delete it. If the job type has been used in the system, you will see an error message if you try to delete it.
- Click Settings > Jobs & Billing.
- Click Checklists.
- Select the checklist containing the item you want to delete.
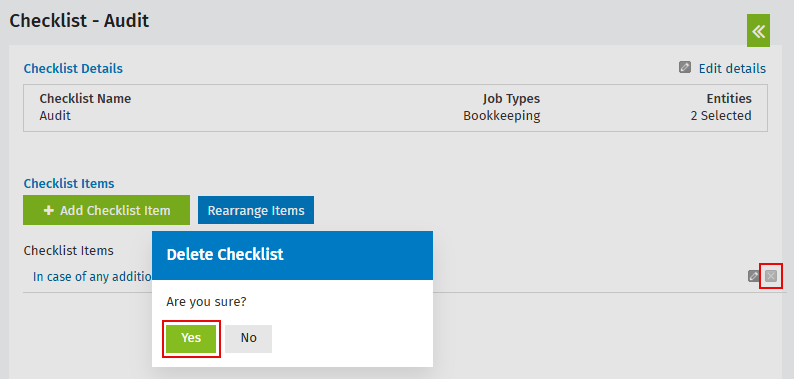
- Click the delete
 icon for the checklist item you want to delete.
 - Click Yes to confirm.
Assign job types and entities to a checklist
When you assign job types or entities to a checklist, the checklist becomes visible and updateable to users on all jobs that meet the criteria. You should only carry out this task when you are ready to start using the checklist.
- Click Settings > Jobs & Billing.
- Click Checklists.
- On the Checklists page, click the checklist you want to add the job types and entities to.
- Click
 Edit details.
 - Select the check boxes of the job types and entities you want to assign to the checklist.
- Click Save.
