Customize job statuses
Settings - Jobs & Billing
Before you customize the Jobs & Billing job statuses to suit your needs, we recommend that you read the Update the job status page to learn about the job status stages.
Contents
Learn about customizing job statuses
To enable your firm to replicate your internal workflow processes, you can customize the status options that appear for each job type. You can add your own custom job statuses, rename existing job statuses, and select the applicable statuses. The number of statuses that you allocate to each job type, determines the progression of each colour band. For example, an Annual Accounts job that has five blue statuses progresses differently from one with only one blue status, as seen in the example below:

The default job statuses cannot be renamed, re-ordered, or deleted because they are used to track the progress of a job through the system. The table provides descriptions of the default job statuses, which cannot be changed or re-ordered.
|
Default status |
Description |
|
Allocated |
When resources are assigned to a job |
|
Active |
When you begin working on a job |
|
Complete |
Once you have finished working on a job |
|
Filed |
Once the tax documents for the job have been filed to the tax authorities |
Add a job status
You can add custom job status options that are more applicable for your firm. For example, you could add an On Hold status and use it when you are waiting for more information.
-
Click Settings > Jobs & Billing.
- Click Job Statuses.
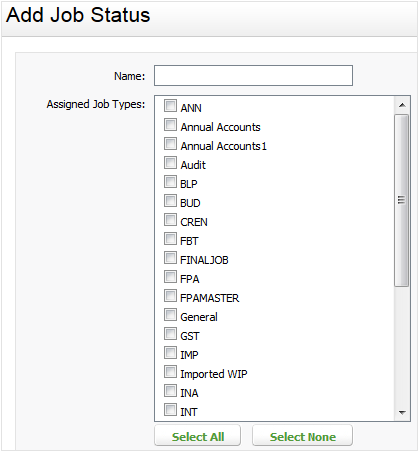
- Click Add Job Status.
- Type the name of the job status.
- Select the job types you want to assign to the job status to.
- Click Save.
Note: By default, the new status is positioned last on the list but you can edit the order of your statuses.
Edit the order of job statuses
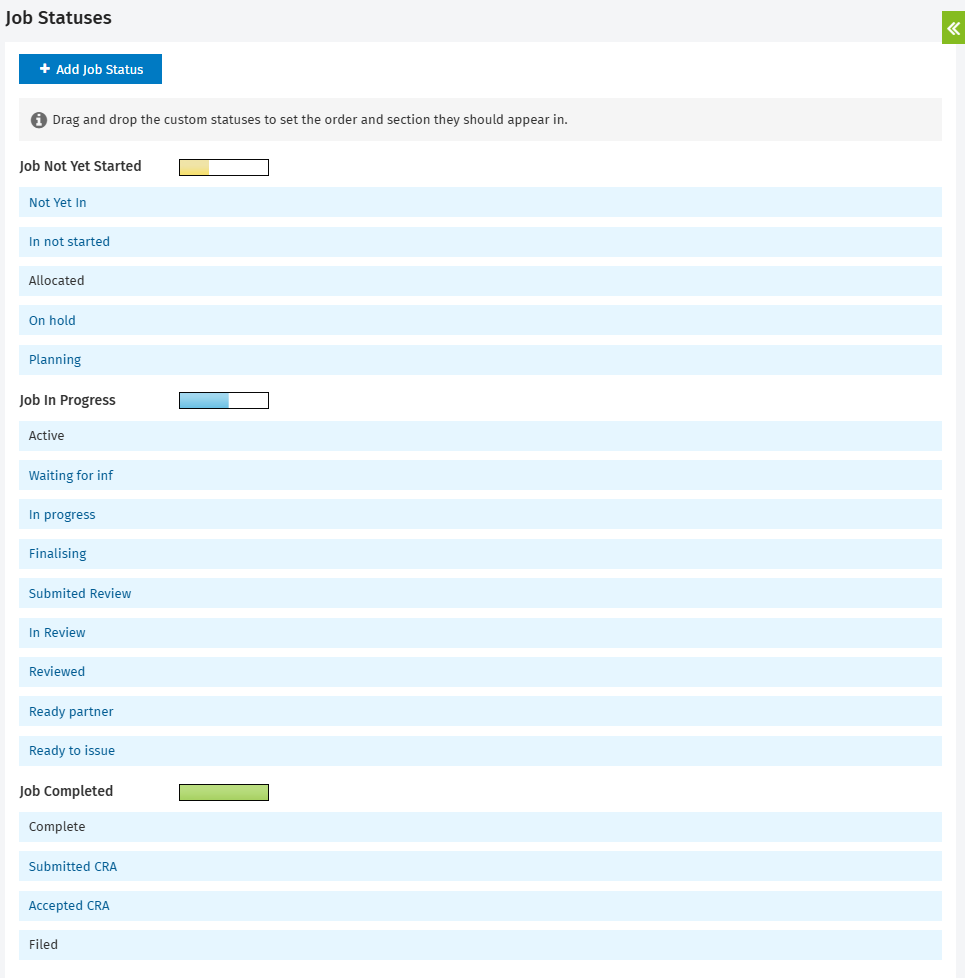
You can organize your job statuses into three general sections: Job Not Yet Started, Job In Progress and Job Completed. Each section has a different colour that shows on the status. Depending on the number of statuses in the section, the status colour works as a progress bar.
You cannot change the order of the three sections or the default statuses, nor can you delete them. You can organize the job statuses you add by dragging and dropping them into the relevant order, in the relevant section.
-
Click Settings > Jobs & Billing.
- Click Job Statuses.
- Drag and drop your custom statuses to set the order and section they should appear in.
Rename a job status
You can rename some existing job status options to make them more applicable for your firm.
- Click Settings > Jobs & Billing.
- Click Job Statuses.
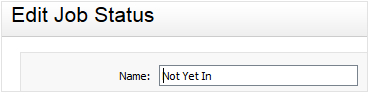
- Click the status you want to rename.
- Type the new name of the status.
If your firm is also using CCH iFirm in French or if you have to communicate with some French speaking contacts, you have to click the button and then enter the French description of the label.
 - Change the assigned job types, if required.
- Click Save.
Specify the turnaround time between job statuses
Workflow and Resource Manager
You can specify the expected number of days it should take to progress between two job statuses. For example, you might find that it should take no longer than 30 days for a particular job type to go from Pending to Complete. You can then run the Job Turnaround Report to compare the turnaround time you specified under settings with the actual turnaround time.
- Click Settings > Jobs & Billing..
- Click Job Types.
- Click the row of the required job type.
- In the Details tab, select the required start status and end status, and type the number of expected turnaround days.
- Click Save.

Assign a job status to a job
Each job type must have the Allocated, Active and Complete job statuses. You can determine any other job statuses that are relevant for each job type.
-
Click Settings > Jobs & Billing.
- Click Job Types.
- Click the row of the job type you want to edit,.
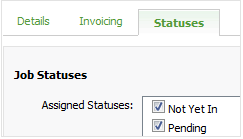
- Click the Statuses tab.
- Select the available job statuses you want to assign to the job type.
- Click Save.
Delete a job status
You can delete a job status you have created. You cannot delete a custom job status that has been assigned to one or more job types. You will need to unassign any associated job types before deleting the status.
- Click Settings > Jobs & Billing.
- Click Job Statuses.
- Unassign job types, if required:
- Click the custom job status you want to delete to open the Edit Job Status page.
- Click Select None to unassign any associated job types.
- Click Save.
- Click the Delete button
 on the row of the status on the Job Statuses page.