Use the Contacts page
- Contacts – View only, or
- Contacts – View, Add and Edit Contacts
Contents
- Access the Contacts page
- Search for a contact
- Display contact details
- Select columns to display
- Edit the number of contacts displayed on the page
Access the Contacts page
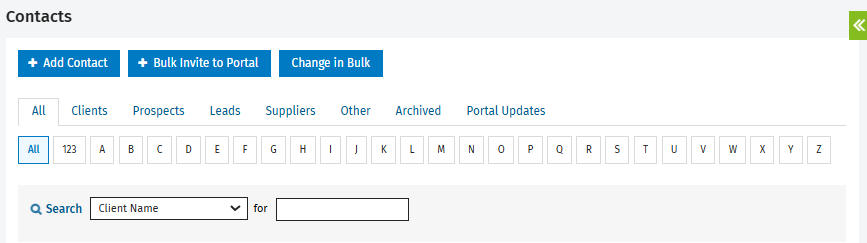
The Contacts (Contacts > All Contacts) page includes all contacts to which you have access, depending on your security role, where applicable. The following tabs are available: All, Clients, Prospects, Leads, Supplier, Other and Archived.
Each contact file can contain the following information, based on the columns you want to display:
- Client Code – The unique client code.
- Client – The client name.
- Entity – The entity type.
- Partner – The partner assigned to the client.
- Manager – The manager assigned to the client.
- Tax Reference No. – Either the business number or the social insurance number (Tax reference number).
- E-mail Address – The client e-mail address.
- Work Phone – The work phone number.
- Mobile – The mobile phone number.
If your firm is using the firm settings filtering and group settings, the group options will be available.
- Group1 – Group1 title configured in the filters and groups settings.
- Group2 – Group2 title configured in the firm filtering and group settings.
Search for a contact
Quick search
- Click Contacts > All Contacts.
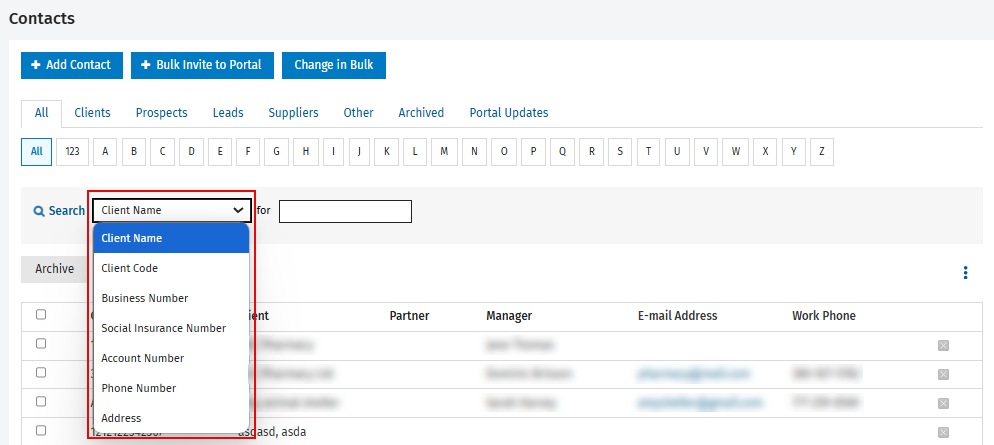
- In the Contacts page, in the search feature and choose the desired filter in the drop-down list (Client Name, Client Code, Business Number, Social Insurance Number, Account Number, Phone Number or Address).
- In the search field, type the first letters of the item you are searching for.
- Press Enter.
Notes:
- You can modify the default search filter using the Contacts Sort Order & Navigation (By name or By code) option.
- The default number of items per page is 25. You can modify the Default number of items on Page option.
Advanced search
- Click Contacts > All Contacts.
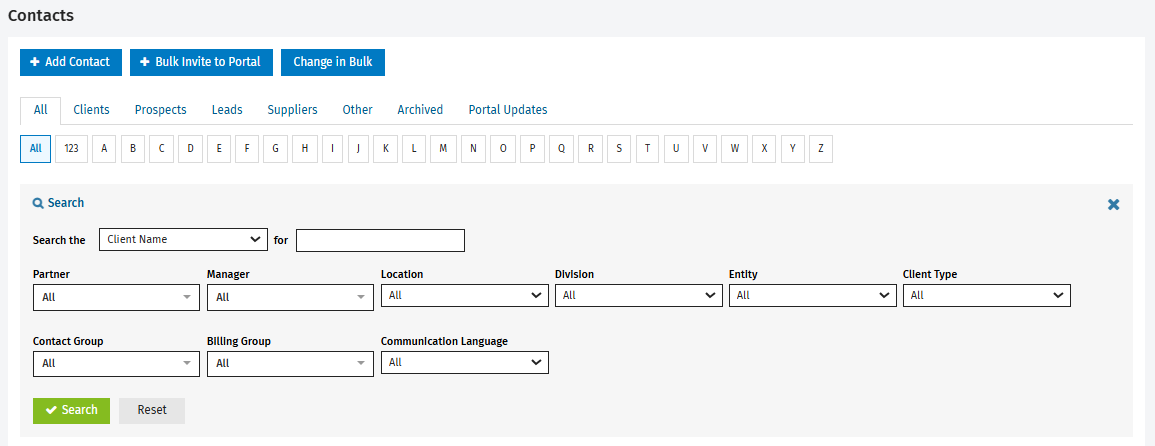
- Click the Search button.
The advanced search filters will be displayed: Partner, Manager, Entity, Client Type, Contact Group, Billing Group and Communication Language. - Edit the field of each desired filter.
- Click Search.
Notes:
- To perform a new search, display the page with all filters and click Reset, then Search.
- To return to the simple search, click the
button in the top right corner of the Search section.
Display contact details
- Click Contacts > All Contacts.
- From the Contacts page, select a contact.
The Contact Details page will be displayed.
This page contains all information on a contact.
Select the columns to display
- Click Contacts > All Contacts.
- Click the vertical suspension points
 above the displayed columns.
 - Click Select Columns.
- Choose the desired columns.
- Click Save.

Note: The optimal configuration for the columns in the Contacts grid contains the following items: Client Code, Entity, Partner, Manager, Tax Reference No., E-mail Address, Work Phone and Mobile.

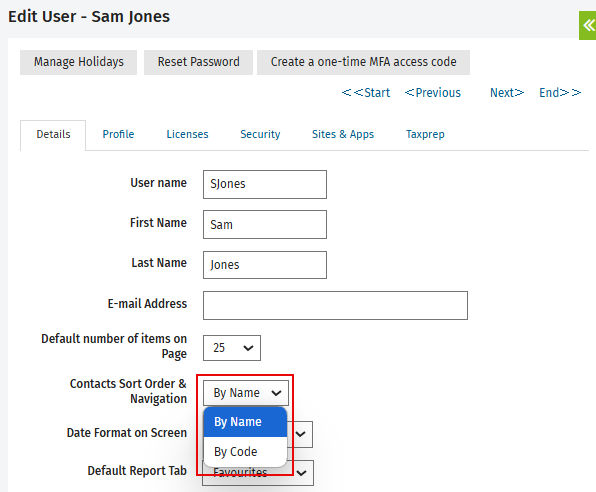
Edit contacts sort order and navigation
- Click your name in the top right corner of the page, then click My Profile in the displayed drop-down list.
- In the Edit User page, look for the Contacts Sort Order & Navigation option.
- Select By Name or By Code in the drop-down menu.
- Click Save.
Edit the number of contacts displayed on the page
- Click your name in the top right corner of the page, then click My Profile in the displayed drop-down list.
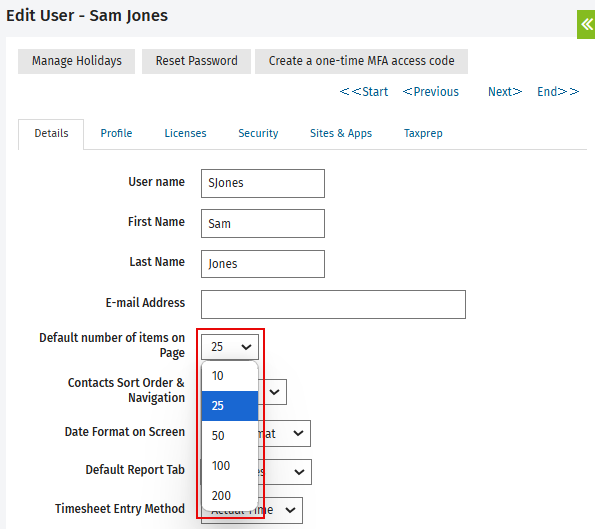
- In the Edit User page, look for Default number of items on Page option.
- Select the number of items to display for a page (10, 25, 50, 100 or 200) in the drop-down menu.
Note: The default number is 25.
- Click Save.