Add invoice text items
Settings - Jobs & Billing
The text used in invoices is stored in one place in Jobs & Billing, so that it can be used with specific job types, in addition to group lines, simple lines and WIP lines on invoices. This way, you have a library of invoice text items that can be used on an invoice, so you do not have to type descriptions manually when customizing an invoice. You can also add text to use with interim/progress invoices.
Add an invoice text item
- Click Settings > Jobs & Billing.
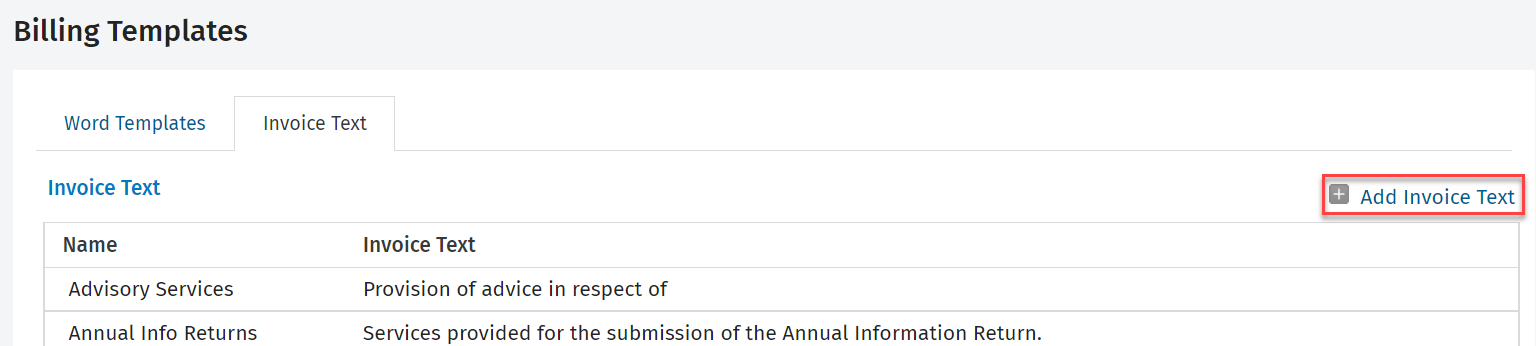
- Click Billing Templates.
- Click the Invoice Text tab.
- A list of invoice text items is displayed.
- You can click an existing item to open and edit it to suit your needs.
- Click Add Invoice Text.
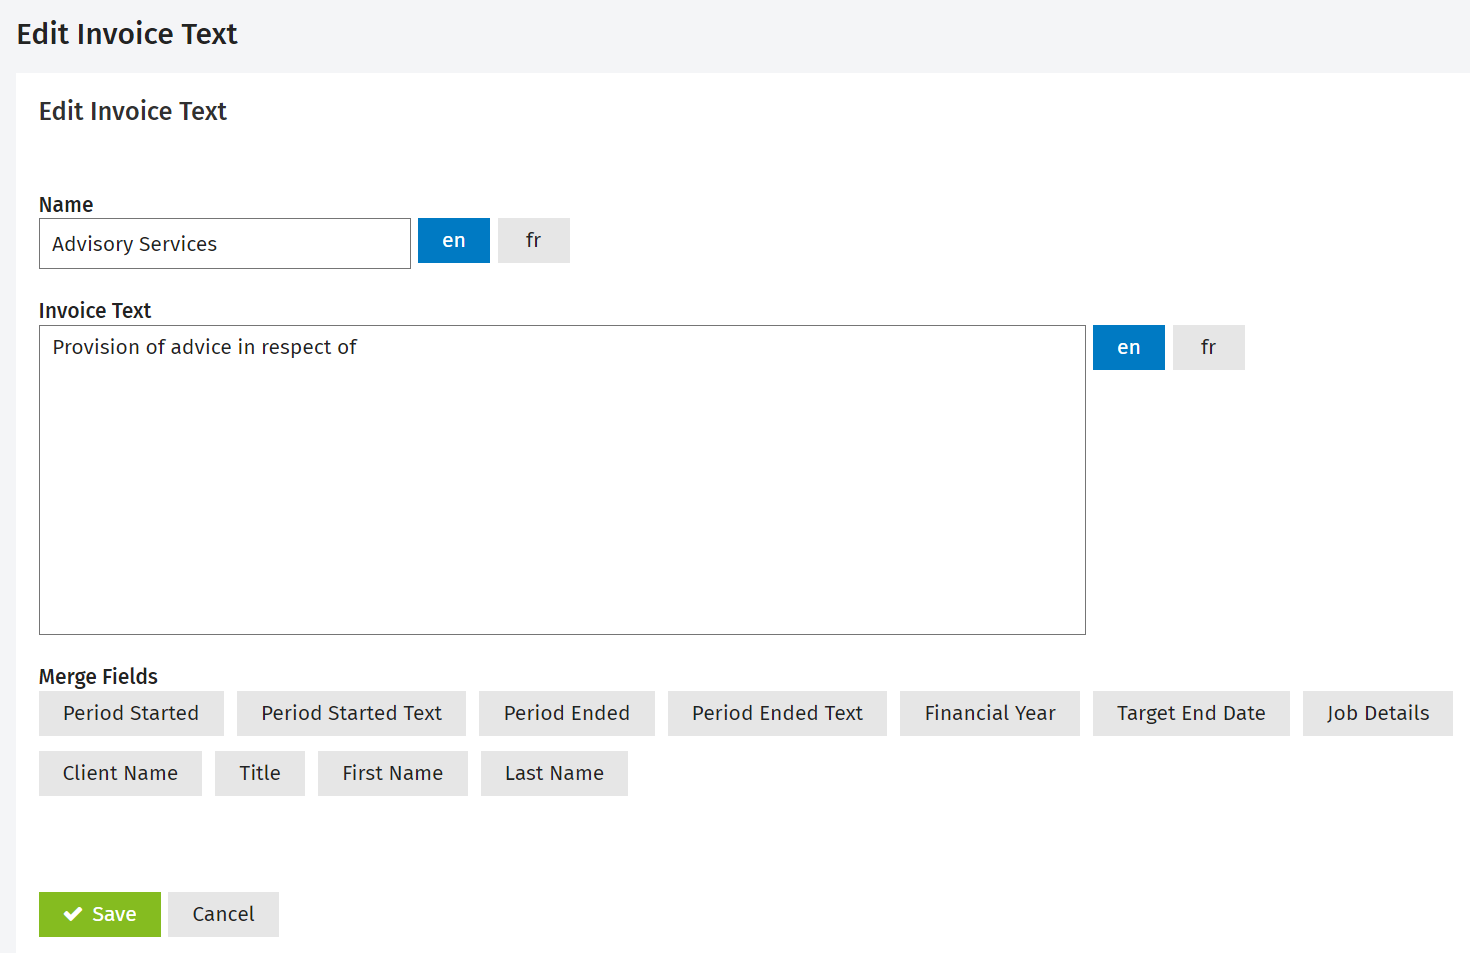
- Type a name.
If your firm is also using CCH iFirm in French or if you have to communicate with some French speaking contacts, you have to click the button and then enter the French description of the label.
- This is the name of the invoice text that appears in lists in Jobs & Billing.
- It is compulsory and can have a maximum of 20 characters.
- Type your invoice text and insert merge fields as required (merge fields are only populated if used with a WIP line).
If your firm is also using CCH iFirm in French or if you have to communicate with some French speaking contacts, you have to click the button and then enter the French description of the label.
 - Click Save.
Note: To have invoice text appear automatically with a job type, it needs to be linked to the particular job type. Click here to learn how to do this.
Click here to learn more about Merge fields for invoice texts.
Delete an invoice text item
You can delete an invoice text items, so long as it is not linked to a job type. This helps you to manage your invoice text items by removing the ones you no longer need.
- Click Settings > Jobs & Billing.
- Click Billing Templates.
- Click the Invoice Text tab.
- Click the Delete Invoice Text button
 on the row of the invoice text item you want to delete.
 - Click Yes to confirm.