Add jobs in bulk
Jobs - View, Add and Edit Jobs
You can bulk-create any type of job and use the range of filters to select which clients the jobs will be created for. You can narrow the list of bulk-created jobs to specific fields, for example client type, or any dynamic fields you created in Contacts.
Bulk-create general jobs for all your clients and set filters to All. A general job allows you to record small tasks such as phone calls, e-mails and newsletters.
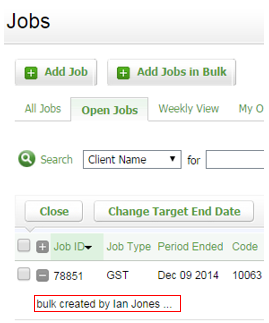
When you bulk-create jobs they will be marked as such on the Jobs and Job Details pages.
- Click Jobs & Billing > Jobs.
- Click Add Jobs in Bulk.
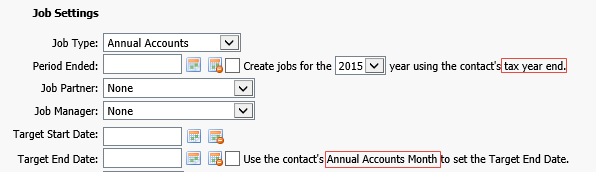
- Specify the Job Settings:
- Select the required Job Type.
- If you are bulk-creating Annual Accounts jobs, some additional options will display. You can use these to create annual accounts jobs for the selected financial year using the client's taxation year end to set the default period ended, and the client's annual accounts month to set the target end date.
- Use the calendar
 icon to select the period ended date, if required.
- If you have selected the Annual Accounts job type, then you have the added option to default this date to the contact's taxation year end, as set in the client's record.
- Set the Target Start Date and the Target End Date of the job using the calendar icon.
- If you have selected Annual Accounts job type, then you have the added option to Use contact's Annual Accounts Month to set Target End date, which is the month you have set aside to work on the client's AA job, as set in the client's record.
- The above dates are used in Capacity Planning. Click here to learn more.
- If group options are used for jobs, select the appropriate value for each group.
- Select the Job Partner and/or Job Manager.
- Specify agreed fees or budget total, unless you have specified agreed fees in the client records.
- Change the default status for the new jobs.
- Select the Automatically set the job status to allocated when resources are assigned check box, if you want the job status set to Allocated when resources are assigned.
- If you are bulk-creating your annual accounts jobs, clear this selection to keep the initial job status as Not Yet In.
- Enter any additional details about the job in the Job Details field provided.
- Select the Do not create a new job if a job already exists for contact check box, if you want to avoid the possibility of duplicate jobs in the system.
- Select the required Job Type.
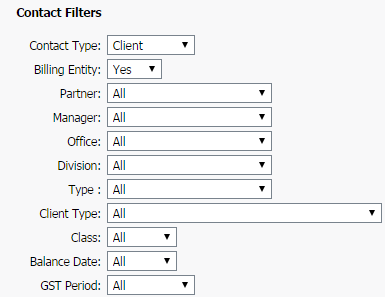
- Use the contact filters to further narrow the jobs created.
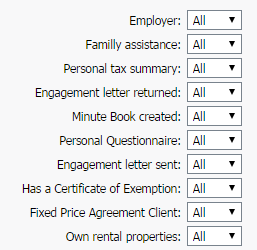
- Use the dynamic field filters.
- The list displayed will depend on how many dynamic fields of type Yes/No you have created in the Contacts settings.
- Click Next. You will see a list of all the clients that meet the filtering criteria.
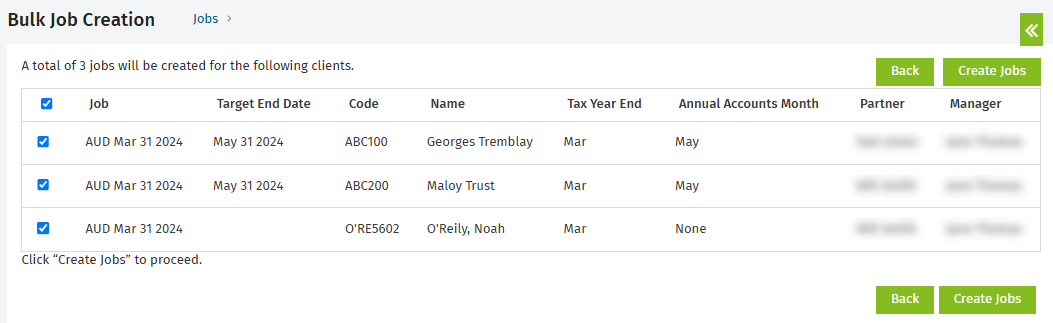
- Clear the check boxes for any clients you do not want to create jobs for, if applicable.
- Click Back to change any of your previous selections before proceeding with the bulk job creation, if required.
- Click Create Jobs to bulk-create the jobs according to your selections.
- Click Finish.