Add and order dynamic fields and dynamic field groups
Settings – Contacts
Contents
Learn about dynamic fields
You can add your own fields for use in Contacts and other CCH iFirm modules. For example, you can add dynamic fields for jobs in Jobs & Billing. This enables you to specify additional information that you want to store about your clients. You can then change the order in which dynamic fields display in a contact's profile. In addition, you can structure your dynamic fields into groups and include them on the Details page. For information on how to use dynamic fields, read the edit dynamic field details page.
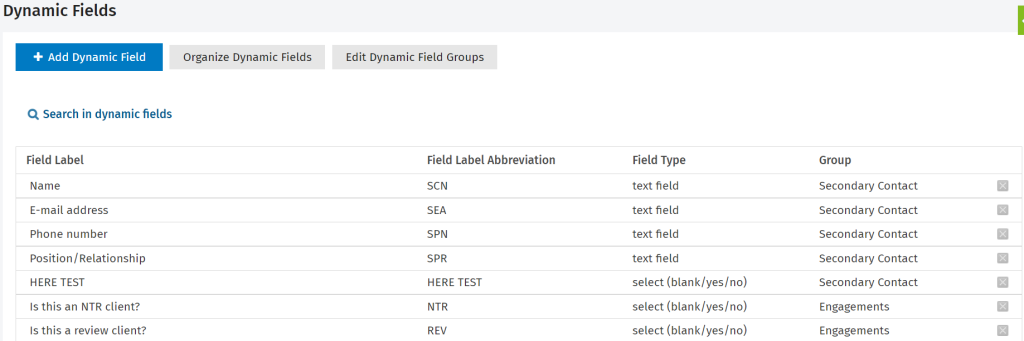
The Dynamic Fields page in Settings > Contacts:
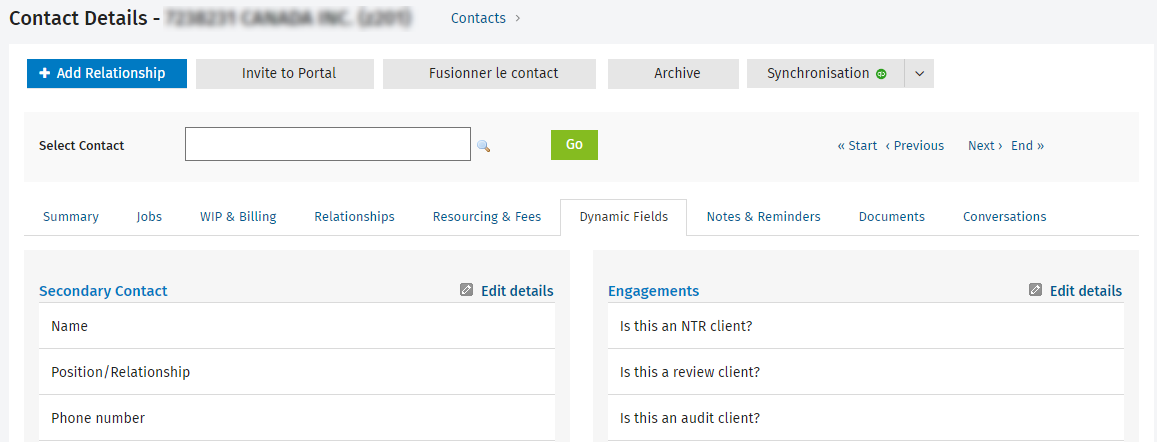
The Dynamic Fields tab in Contacts:
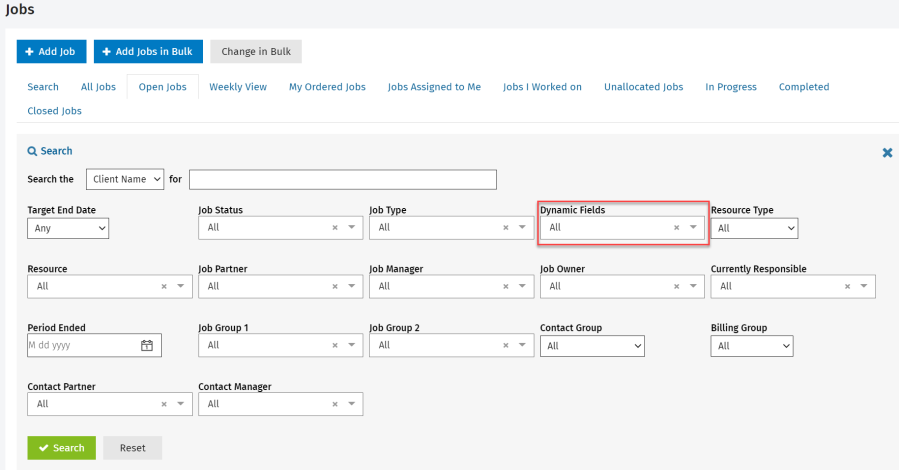
The Dynamic Fields filter in the Jobs & Billing > Jobs expanded search:
Add a dynamic field
- Click Contacts > Dynamic Fields if using your Admin login; or
Click Settings > Contacts > Dynamic Fields if using your User login. - On the Dynamic Fields page, click Add Dynamic Field.
- Click the arrow beside Field Type and select the required type for the field.
Field type format
Example of what you will see in Contacts
Select (yes/no)

Select (blank/yes/no) 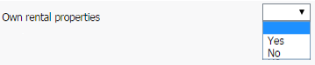
Text field 
Text area 
Date field 
User-defined list* 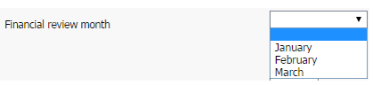
Note: * Please note that this dynamic filed type (User-defined list) can only be added as a contact dynamic field.
- In the Field Label field, enter the name of the dynamic field that you will see in Contacts > Dynamic Fields (see the examples above). If your firm is also using CCH iFirm in French or if you have to communicate with some French speaking contacts, you have to click the
 button and then enter the French description of the label.
 - In the Field Label Abbreviation field, enter the abbreviation which will be used in the expanded search filter in Jobs & Billing > Jobs (optional module).
-
Assign the field to a dynamic field group, if required.
- Edit the default security settings - This will allow users to view and/or edit dynamic fields.
- Enable e-mail notifications, if required - Available only for the two Select field types.
- This will send an e-mail to inform a nominated user of the change in value.
- For example, setting up a Ready to Interview dynamic field to send an e-mail to your receptionist when the value changes from No to Yes, requesting them to contact a client and arrange a meeting time.
- Click Save.
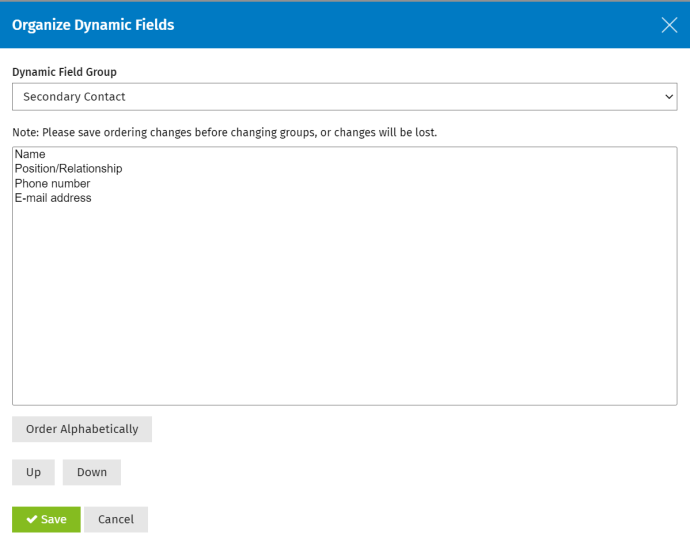
Order dynamic fields
- Click Settings > Contacts > Dynamic Fields.
- Click Organize Dynamic Fields.
- Click Order Alphabetically to order the dynamic fields alphabetically or click the dynamic field you want to move up or down the order, then click Up or Down, as required.
- Click Save.
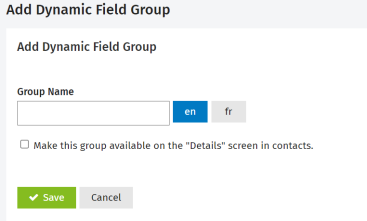
Add a dynamic field group
- Click Settings > Contacts > Dynamic Fields.
- Click Edit Dynamic Field Groups.
- Click Add Dynamic Field Group.
- Type a Group Name.
- Select Make this group available on the "Details" screen in contacts, if required.
- Click Save.
Order dynamic fields groups
- Click Settings > Contacts .
- On the Contacts page. click Dynamic Fields.
- Click Edit Dynamic Field Groups.
- On the Dynamic Fields Groups page, click Order Dynamic Field Groups.
- Click Order Alphabetically to order the groups alphabetically or click the group you want to move up or down the order, then click Up or Down, as required.
- Click Save.