Learn about using reports
Run a report
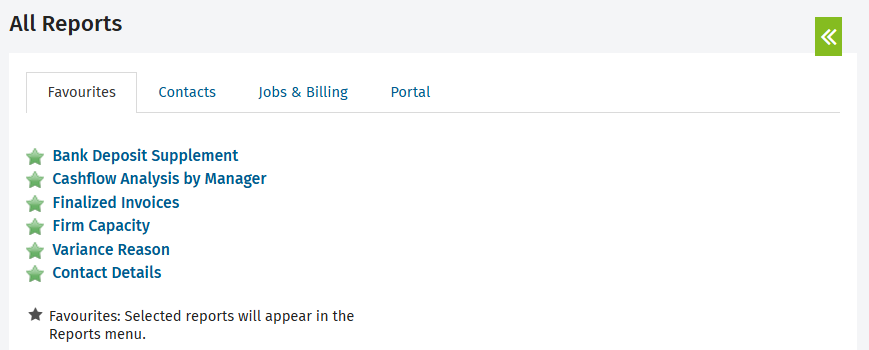
- Click Reports > All Reports.
- Click one of the reports under Favourites, or
Click the Contacts, the Jobs & Billing or the Portal tab to view all Contacts, Jobs & Billing or Portal related reports.
- Click the required report name.
- Use the report filters and click Update.
Work with reports
All Jobs & Billing reports have search filter options that you can use to narrow report results, for example by date, partner, and more. Some reports have additional tabs where you will find more detailed information.

If you have set up custom groups and filters for your firm, you can also filter the report by job, user or contact-related firm groups, for example by contact location or contact division. Click the drop-down arrow to display the list of options. You can then use the check boxes to select a number of items to report on. This gives you flexibility around reporting, and will you save time as you do not need to print off separate reports.

Although the reports are designed for online viewing and use, you can print them or export them to Microsoft® Excel® for further analysis. Most reports have a report toolbar that enables you to perform such actions.

What you can do (from left to right):
- Print a PDF version of the report on the screen.
- Go to the first page in the report.
- Go to the previous page in the report.
- Type the number of the page you want to view.
- Go to the next page in the report.
- Go to the last page in the report.
- Export the report to Excel for further analysis.
- Adjust the viewing size of the report.
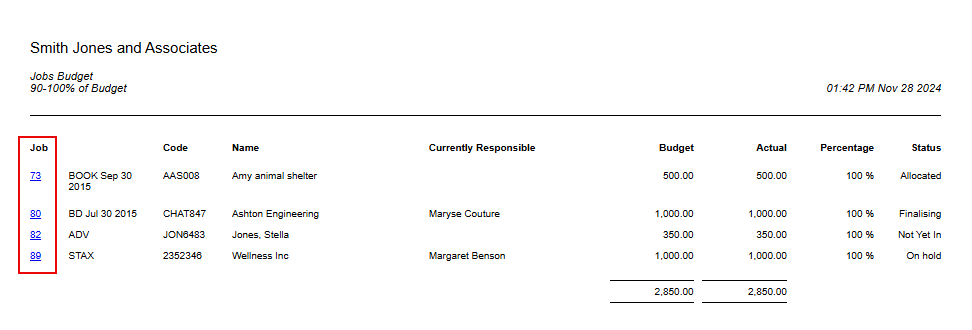
Many reports also provide the ability to drill-down for more details by clicking a particular row in the report - look out for the blue links.

Add a report to the favourites list
You can add a report you use often to your list of favourite reports. If you do this, the report will be listed when you click Reports or click the Favourites tab on the All Reports page.

The report will also have a solid green star  under the Contacts and Jobs & Billing tabs.
To add a report to your favourites list:
- Click Reports > All Reports.
- Select the required tab.
- Click the
 icon beside the report.
To remove a report from Favourites, click the  icon beside the report. The icon will turn white and the report is no longer listed under Favourites.
