Use the Jobs page
- Jobs - View All Jobs, or
- Jobs - View My Jobs, or
- Jobs - View, Add and Edit Jobs
Contents
- Access the Jobs page
- Search for a job
- Display job details
- Access recently viewed jobs
- Specify the number of jobs to display on the page
Access the Jobs page
The Jobs page (Jobs & Billing > Jobs) includes all jobs for the contacts to which you have access, depending on your security role, where applicable. Several tabs can be displayed: All Jobs, Open Jobs, Weekly View, My Ordered Jobs, Jobs Assigned to Me, Jobs I Worked on, Unallocated Jobs, In Progress, Completed and Closed Jobs.

Each job can contain the following information, depending on the columns that you want to display.
There are two ways to configure the view in the Jobs: Hours view and WIP view sections. Certain items match, while others differ, depending on the view:
- Job ID - The unique number automatically generated when the job is created.
- Job Type - The job type (e.g. AA).
- Period Ended - The period end date for the job (if applicable).
- Code – The client code.
- Name - The client name.
- Target Start Date – Target start date for the job.
- Target End Date - Target start date for the job (if specified). The number of days remaining before the end date or after the end date covered is entered.
- Write on – Job write on details.
- Currently Responsible – Name of the person currently responsible for the job.
- Job Owner – The job owner.
- Date Changed - The date of the last job status change.
- Job Status - The current job status.
- Job Create Date – The creation date of the job.
WIP view (default)
- Current WIP - The current WIP amount on the job.
- Budget total - The total amount budgeted for the job and what percentage of this amount has been used so far.
- Invoice total - The total amount of finalized invoices for the job, so far.
Hours view
- Hours Worked– The number of hours worked on the job.
- Disbursements – The disbursement amount.
- Hours Allocated – The number of hours allocated to the job.
- Hours to Go – The number of hours remaining to complete the job.
If your firm is using the firm settings filtering and group settings, the group options will be available.
- Group1 – Group1 title configured in the filters and groups settings.
- Group2 – Group2 title configured in the firm filtering and group settings.
Search for a job
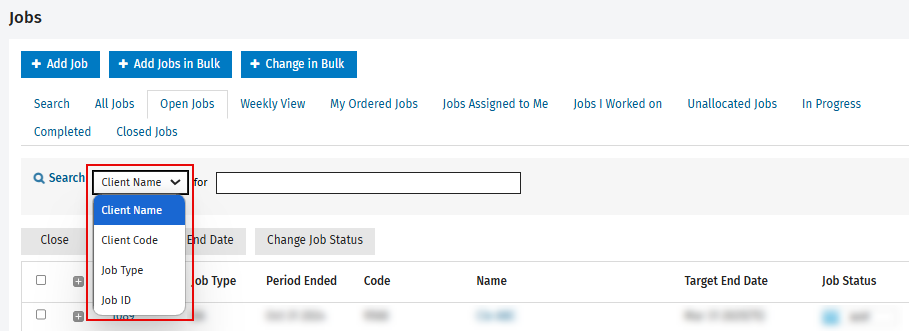
Quick search
- Click Jobs and Billing > Jobs.
- In the Jobs page, find the search feature and choose the desired filter in the drop-down list (Client Name, Client Code, Job Type or Job ID).
- In the search field, type the first letters of the item you are searching for.
- Click Search and press Enter.
Notes:
- The default search filter is either Client Name or Client Code. You can modify the Contacts Sort Order & Navigation option.
- The default number of items per page is 25. You can modify the Default number of items on Page option.
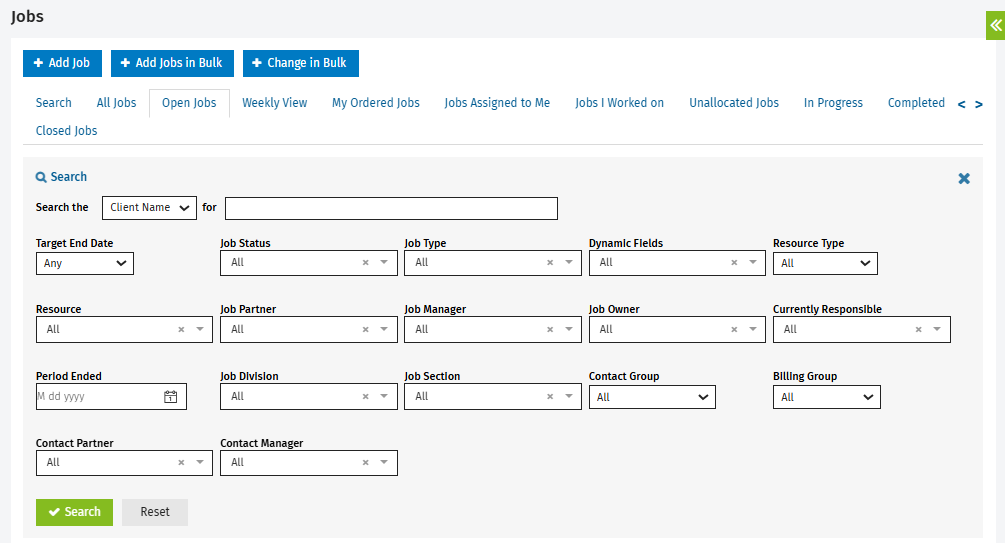
Advanced search
- Click Jobs and Billing > Jobs.
- Click the Search button.
The advanced search filters will be displayed: Target End Date, Job Status, Job Type, Dynamic Fields, Resource Type, Resource, Job Partner, Job Manager, Job Owner, Currently Responsible, Period Ended, Contact Group, Billing Group, Contact Partner and Contact Manager. - Modify the desired filters.
- Click Search.
Notes:
- To perform a new search, display the page with all filters and click Reset, then Search.
- To return to the simple search, click the
button in the top right corner of the Search section.
Display job details
- Click Jobs & Billing > Jobs.
- Find the desired job.
- Click the jobs to view its details.
The Job Details page will be displayed.
Access recently viewed jobs
Through Recently viewed jobs
- Click your name in the top right corner.
- Click Recently viewed jobs.
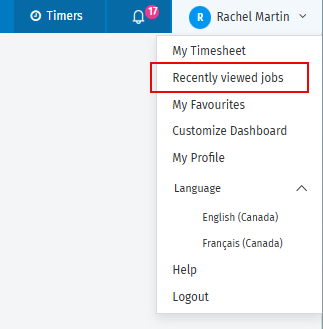
- The Recently Viewed Jobs will be displayed:
- Click the job that you want to view.
- The Job Details page will be displayed.
From the Dashboard
- Click Dashboard in the left side menu.
- Look for the Recently Viewed Jobs section:
- Click the desired job.
- The Job Details page will be displayed.
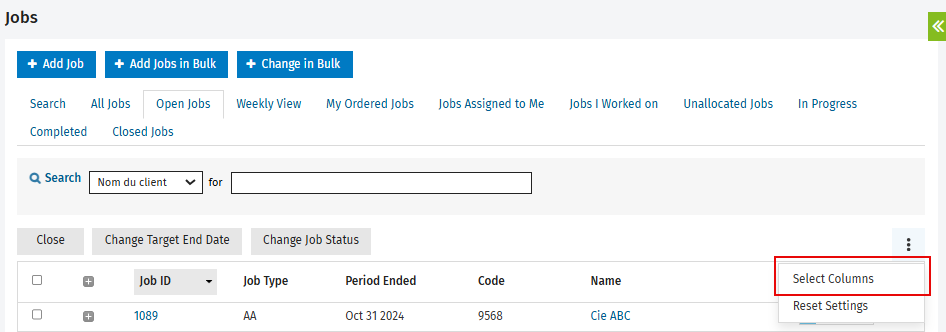
Select the columns to display
- Click Jobs & Billing > Jobs.
- Click the vertical suspension points
 to the right above the displayed columns.
 - Click Select Columns.
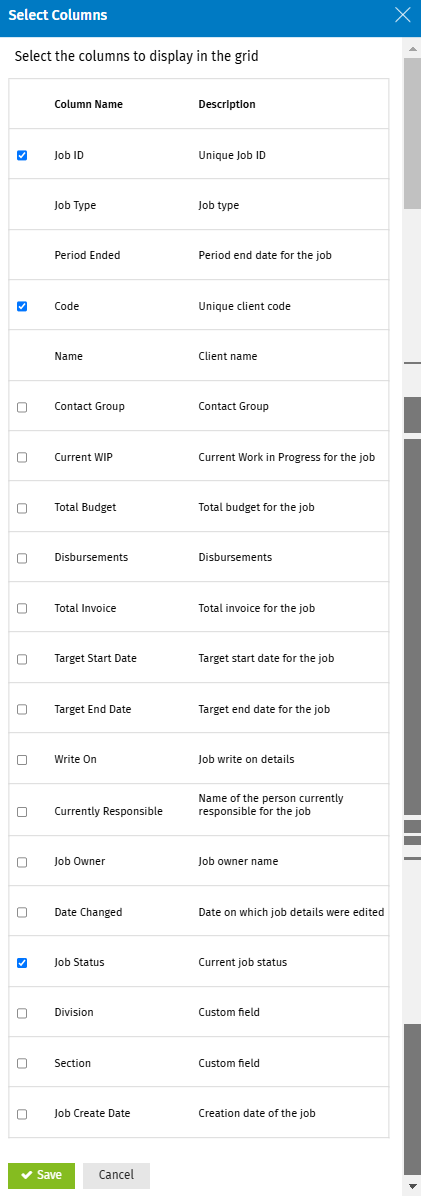
- Select the desired columns.
- Click Save.
Note: The optimal configuration for the columns in the Jobs grid is Hours View and contains the following items: Job ID, Code, Contact Group, Current WIP, Total Budget, Disbursements, Total Invoice, Target Start Date, Target End Date, Write On, Currently Responsible, Job Owner, Date Changed, Job Status and Job Create Date.
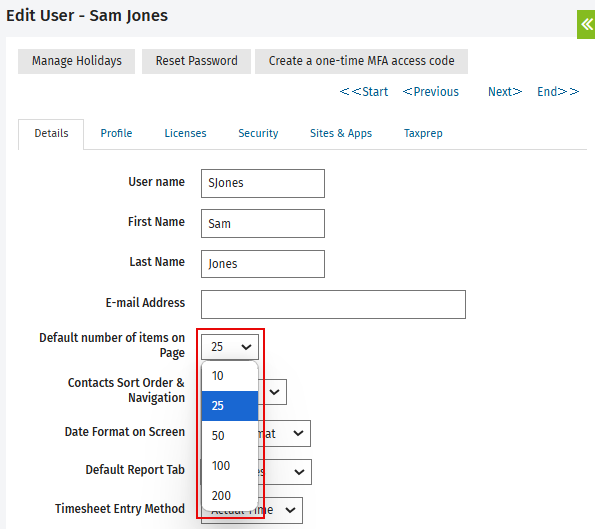
Specify the number of jobs to display on the page
- Click your name in the top right corner of the page, then click My Profile in the displayed drop-down list.
- In the Edit User page, look for Default number of items on Page option.
- Select the number of items to display for a page (10, 25, 50, 100 or 200) in the drop-down menu.
Note: The default number is 25.
- Click Save.
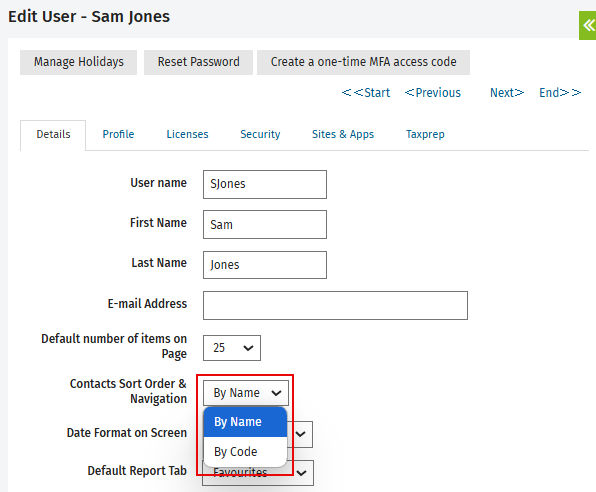
Edit contacts sort order and navigation
- Click your name in the top right corner of the page, then click My Profile in the displayed drop-down list.
- In the Edit User page, look for the Contacts Sort Order & Navigation option.
- Select By Name or By Code in the drop-down menu.
- Click Save.