Learn about CaseWare Integration
The integration between CCH iFirm and CaseWare allows users to manage CaseWare files in their contacts and jobs through CCH iFirm's Documents application.
Before learning about managing CaseWare files in CCH iFirm, consult the Learn about the Documents feature page. Please note that there are no user-specific security roles for managing CaseWare files as they are comprised in the Documents’ security roles.
Contents
Access CaseWare files
Settings - Documents
To work simultaneously in CaseWare files, proceed as follows:
- Click Settings > Documents > CaseWare Settings.
- In the Network Shared location for CaseWare box, enter your firm's shared network location for CaseWare files.
Note: It is important to give users the read and write access rights to this shared location.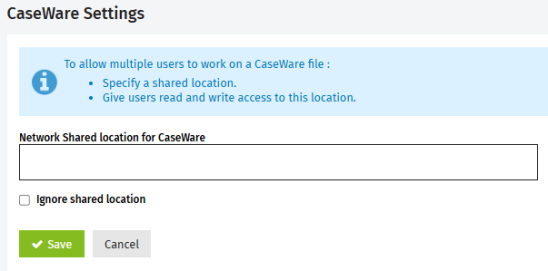
- Select the Ignore shared location checkbox if CaseWare files are meant to be used by one user at a time.
- Click Save.
These settings cannot be modified while a CaseWare file is opened in the shared location.
Compress CaseWare files to upload to CCH iFirm
It is suggested to always compress CaseWare files before uploading them to CCH iFirm. However, you may not want to go through the compressing process every time you close a CaseWare file. You may want to be prompted to compress the file.
To be prompted before you close a CaseWare file, proceed as follows:
- In CaseWare Working Papers, click Tools > Options and select General in the Options dialog box.
- From the Auto Compress list, select Yes then click OK.
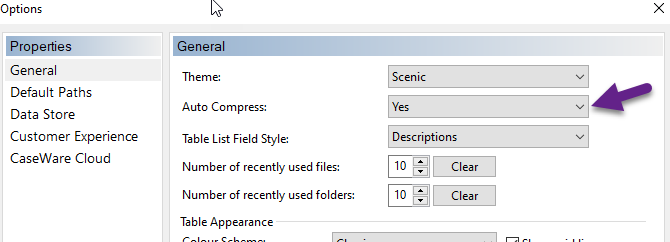
Note: A compressed CaseWare file is identified with the extension “.ac_”.
Upload CaseWare files to CCH iFirm jobs and contacts
For information on how to upload a CaseWare file to a CCH iFirm job or contact, please refer to the Manage Files page.
Locate CaseWare files in CCH iFirm
To locate the CaseWare Files in CCH iFirm, proceed as follows:
- Open the relevant Contact Details or Job Details page and click the Documents tab.
- Look for the CaseWare file by doing a search or by applying a filter. For more information, consult the Locate folders and files page.
Work with CaseWare files in Documents
To open a CaseWare file, select it. A prompt will confirm that you want to open the selected file. Click Yes to confirm.
The file opens in CaseWare Working Papers and Documents Sync will confirm that it has opened in the corresponding application.
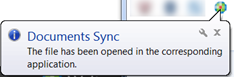
Note: Each CaseWare file will open in a separate CaseWare window or instance.
Locked CaseWare files
As with any file in Documents, when an orange lock icon is added to the file, this means that it is presently opened by you or another user.

However, in the case of a CaseWare file, it further means one of the following:
- No CaseWare settings have been applied (Settings > Documents > CaseWare Settings).
- The Ignore shared location check box is selected.
- The user is working from a location that cannot access the path specified in the Network shared location for CaseWare box.
Depending on your security roles, the file may be unlocked – Security role: Documents - View and Unlock.
When clicking the lock, you will be prompted as follows:
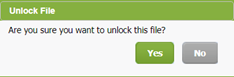
When clicking Yes, the CaseWare file is unlocked and may be edited in CaseWare.
If a green lock is added to the CaseWare file:

This means the file is opened in the specified shared location (in Documents > Settings > CaseWare Settings > Network Shared location for CaseWare box) and the Ignore shared location box has not been selected.
When hovering the mouse over the green lock, you are informed that the file is locked as it is opened in the shared location.

Again, depending on your security roles, the system will offer to unlock it.