Set up document styles
Document styles are templates (not to be confused with document templates) that allow you to customize Intranet content to suit your firm's branding requirements, such as adding your firm's logo or a partner's signature. Applying document styles ensures consistent formatting and saves time.
You can upload different document style templates for letters, faxes, and other types of document. Users can then apply the document styles when sending Microsoft Word documents to a contact. CCH iFirm Intranet includes default styles for documents that you can customize to suit your firm by applying your font and adding your logo.
Contents
1. Get prepared - prerequisites
Software
- Microsoft® Word® 2010 - recommended
- Microsoft® Word® 2003/2007
Microsoft Word skills
You will find the following skills useful for editing a document style template:
- Working with headers(such as adding a logo and firm details to the header)
- Working with footers
- Text formatting
- Inserting and formatting images (customizing logo)
- Inserting merge fields
- Inserting bookmarks
- Accessing and changing Word options
- Accessing Microsoft Word help
About document styles
It is important to read about document styles and how Intranet users apply document styles when sending a document to a CCH iFirm contact.
2. Download a document style
Settings- Intranet
While you can create a document style template from scratch, we recommend that you download one of our default document styles and customize it.
- Click Settings > Intranet.
- Click Edit Document Styles.
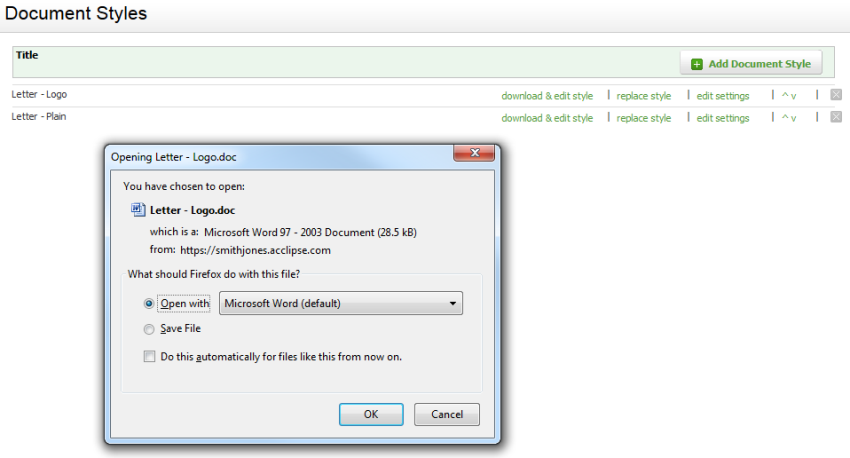
- Click download & edit style on the row of the style you want to edit.
- Save the file to your computer.
3. Customize the document style
Download a default document style and customize it to suit your needs
Open the document style and make sure that non-printing content (such as paragraph marks and bookmarks) are showing. Paragraph marks help you identify and adjust the spacing between paragraphs in the template. You must display bookmarks, so that you do not delete the StandardTextmark bookmark.
To display paragraph marks: on the Home menu, click the Paragraph button.

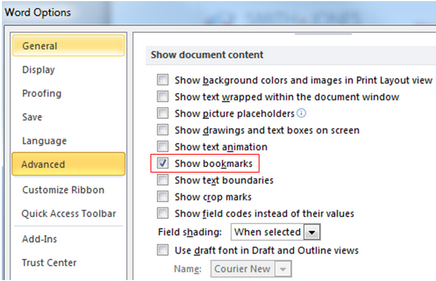
To show bookmarks: on the File menu, click Options, then click Advanced. Scroll down to the Show document content area and select the Show bookmarks check box.
Add a logo
We recommend that your image file is of type PNG or JPG and the size is under 500 KB and no greater than 300 DPI resolution. It is important that you resize the image prior to inserting it into the document style template.
You should add a logo to the header section of the document, so you can format it without affecting the body of the document. Here are some suggestions on what to do:
- Either: open the header area by double-clicking at the top of the document.
Or: on the Insert menu, in the Header & Footer group, click Header, then click Edit Header. - To insert the logo:
- On the Insert menu, in the Illustrations group, click Picture.
- Locate the picture that you want to insert.
- Double-click the picture that you want to insert.
- You can change the picture layout to allow text wrapping:
- Click the image.
- On the Picture Tools menu, in the Arrange group, click Position, then click the Layout option that you want.
- If you only want the logo to print on the first page, make sure that you have selected Different First Page in the Options group of the Header & Footer Tools menu.

Change the date format
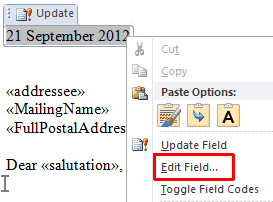
Right-click the date, then click Edit Field. In the Field dialog box, select the date format you require.
Insert a signature
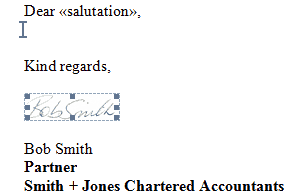
You can set up a document style template that includes a scanned signature:
- Click where you want to insert the picture in your document.
- On the Insert menu, in the Illustrations group, click Picture.
- Locate the picture that you want to insert.
- Double-click the picture that you want to insert.
- Resize the image.
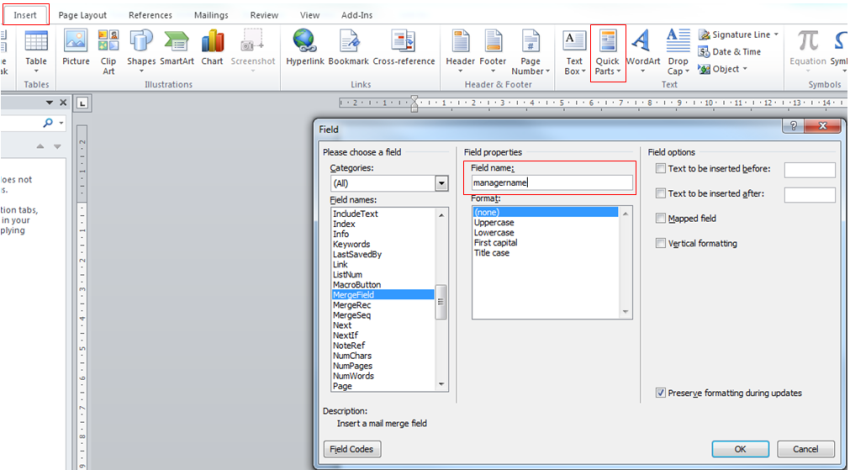
Insert a merge field
Merge fields are placeholders for information extracted from the Contacts record when you send the document to the contact. Intranet can extract contact fields such as mailing address and greeting. Merge fields are shown in the Word document in the format: «field_name». To view a complete list of merge fields, click here.
- On the Insert menu, in the Text group, click Quick Parts, and then click Field.
- In the Field dialog box, select MergeField in the Field names box, then enter the merge field into the Field name field.
- Click OK.
Edit the body text
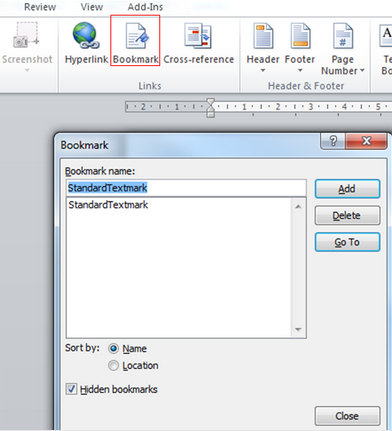
You can edit any of the body text of the document style. For example, you could set up a fax document style that looks very different to a letter. If you are working on a document style based on an existing one, you will see that it contains a bookmark named StandardTextMark.

The StandardTextMark bookmark is the placeholder where the content from a letter or document template will be placed when you send it to a contact. If you delete the bookmark, or create a new document style template, you can add the StandardTextMark bookmark into the document:
- Click where you want to insert the bookmark in your document.
- On the Insert menu , in the Links group, click Bookmark.
- Enter the bookmark name: StandardTextmark.
- Click Add.
4. Upload document style
Settings- Intranet
Upload a document style by adding it as a new style
Replace an existing document style
- Click Settings > Intranet.
- Click Edit Document Styles.
- Click Replace style on the row of the style you wish to replace.
- Click Choose File or Browse (the button label may be different depending on the browser you use), to locate and open the file.
- Click Save.
Add new document style
To upload a new document style you have created:
- Click Settings > Intranet.
- Click Edit Document Styles.
- Click Add Document Style.
- Enter the style title.
- In the Status box, select the status - the default is Visible.
- Click Choose Fileor Browse (button label may be different depending on the browser you use), to locate and open the file you want to use as a style.
- Click Save.

5. Apply a document style
Intranet - Add and Edit Content
After you have uploaded your document style template, make sure that it works as you expect. Read the send a document to a contact page for more information.
Troubleshooting
We have updated a third party component in CCH iFirm, which is used for generating invoices, statements and merging Intranet documents. The upgrade enables users running Microsoft Office 2013 to utilize merge fields in their documents. Following the update, a small number of users running older versions of Microsoft Office have reported experiencing problems with their invoices, statements and Intranet documents. Our investigations so far have identified that small formatting errors in custom templates are causing the issues. These errors were overlooked by the previous version of the third party component but not in the upgraded version.
If you do experience any formatting issues, we recommend that you follow the steps below to investigate if there is any custom formatting applied to the merge fields in the associated template, and undo any such formatting to restore the original merge field formatting.
- Open the relevant template.
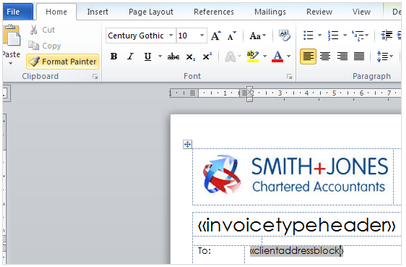
- Take note of the default font type and font size, for example Century Gothic 10.
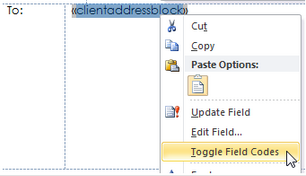
- Identify which merge field is causing the problem, for example «clientaddressblock.
- Right-click the merge field, then click Toggle Field Codes.
- Select the merge field text to display the formatting window, then move your cursor into that window to see if the font type and/or size differs from the default template font type and size.
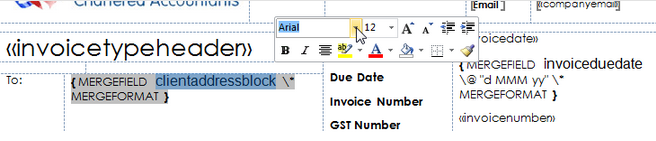
- Change the font type and/or font size to match the default template font type and font size. For example, if your merge field is formatted to be Arial 12 but the rest of the template is Century Gothic 10, you must change the font for the merge field to Century Gothic 10.
- Right-click the merge field, then click Toggle Field Codes again to get back to the original view of the merge field in the template.