Add, edit or delete a manual resource allocation in a job
Jobs - View, Add and Edit Jobs
Contents
Learn about manually adding a resource to a job
Click here to learn more about allocating resources.
You can manually add a resource (staff member/user) to a job on an ad hoc basis. You may need to do this if:
- You are not allocating automatic resources to the client.
- You are creating a manual job for a new client that has no automatic resource allocations.
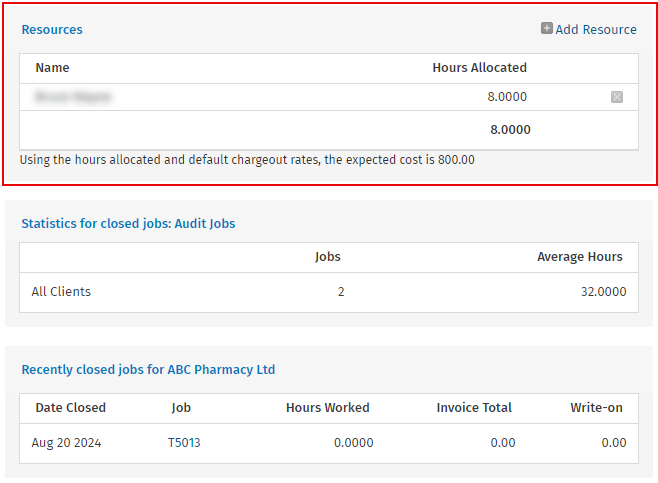
When you manually add a resource and allocate a specific number of hours to that resource, an expected cost is calculated according to the default chargeout rates defined in each user's profile. Code Chargeout Rates.

You can review the Resources section of the Job Setup page to see the average time taken on similar jobs for similar clients. You can click the links to access details about the previous job.
Manually add a resource to a job
You can add a resource to a job when you are first creating the job or you can add a resource to an existing job. Once you do this, you can later change the allocated hours or delete the resource allocation, if required.
- Access the Job Setup page using either of these methods, depending on your requirements:
- When adding a new job manually: Click Jobs & Billing > Jobs > Add Job then select and enter your job details and click Save.
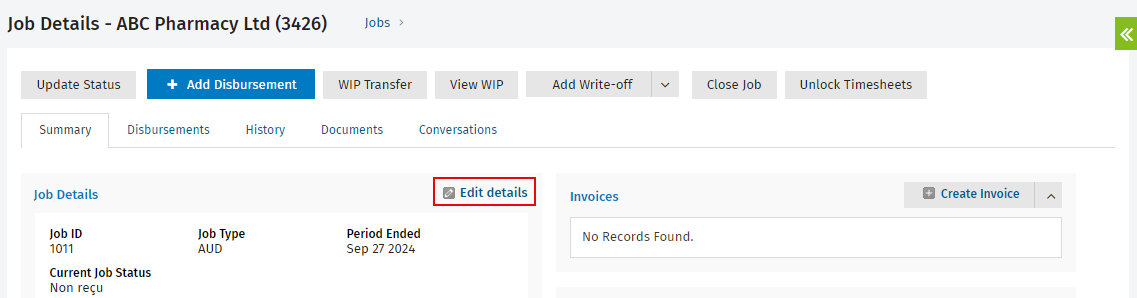
- When editing an existing job: Click Jobs & Billing > Jobs , locate and select the row of the required job and click Edit Details in the Job Details panel.
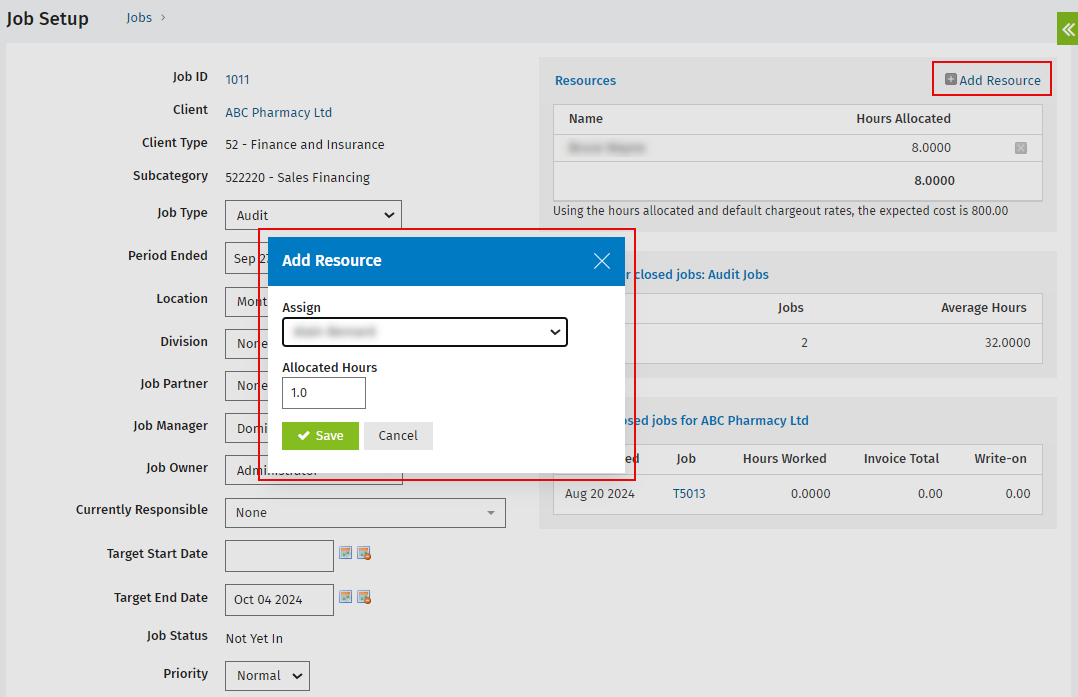
- Click Add Resource at the top of the Resources panel.
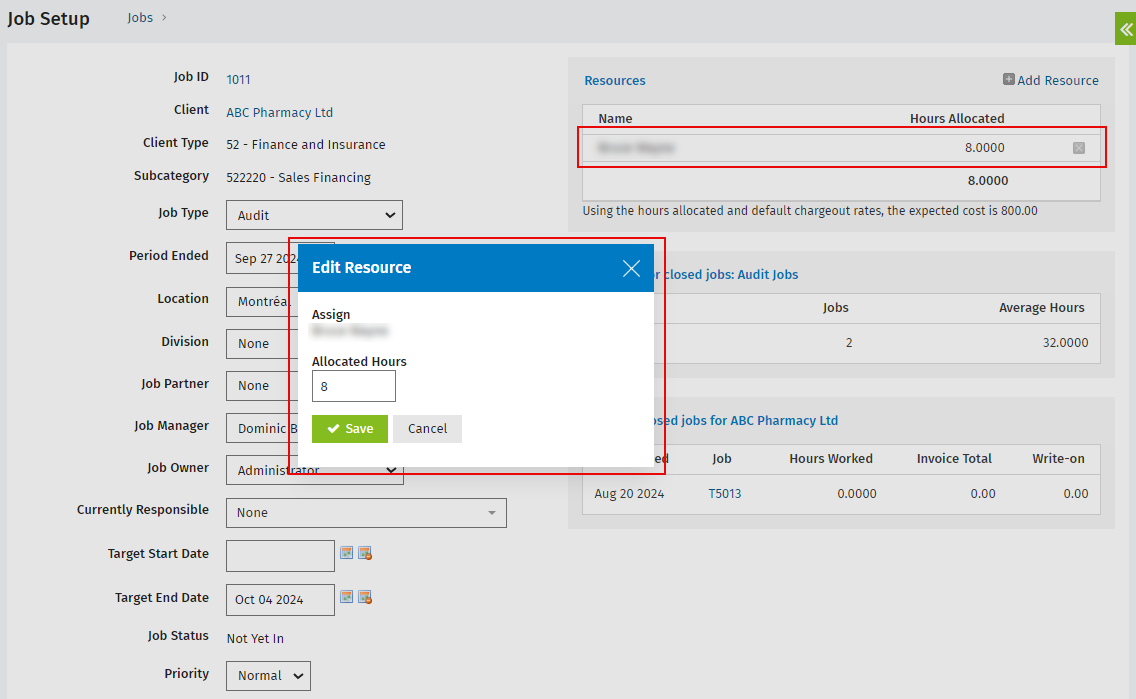
- Select a staff member from the Assign list.
- Type the number of allocated hours in which the staff member should complete the work on the job.
- Click Save.
Change the hours allocated to a resource in a job
- Click Jobs & Billing > Jobs.
- Click the required job to open it.
- Click Edit Details in the Job Details panel. The Job Setup page is displayed.
- Click the row of the resource you want to change the hours for.
- Enter the new number of allocated hours.
- Click Save.
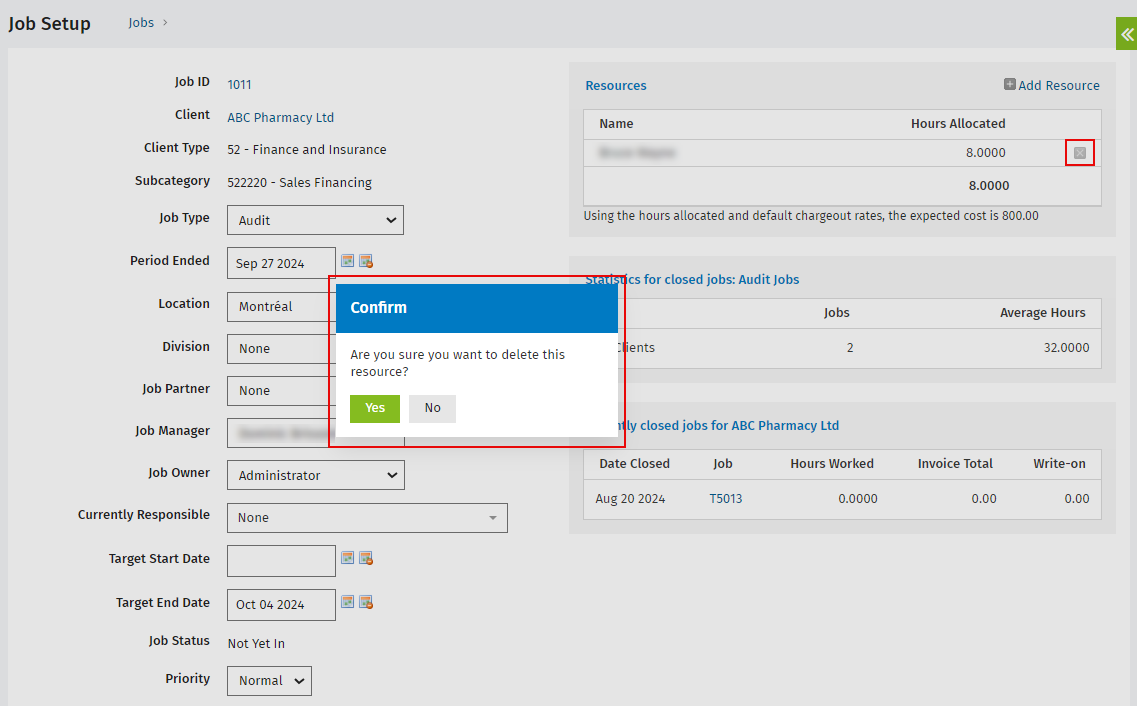
Delete a resource from a job
- Click Jobs & Billing > Jobs.
- Click the required job to open it.
- Click Edit Details in the Job Details panel. The Job Setup page is displayed.
- Click the Delete button
 on the row of the resource allocation you want to delete.
 - Click Yes to confirm.