Edit job details
Jobs - View, Add and Edit Jobs
Jobs will mostly be created as a recurring job or in bulk. Occasionally you may be required to edit job information, such as target end date, job details and budgets. We recommend that only a select few in your firm have access to editing jobs, so that you can better monitor changes when they occur.
Editing jobs also allows you to edit the resource allocations, and you may not want staff members editing their allocations without prior approval.
Edit job details
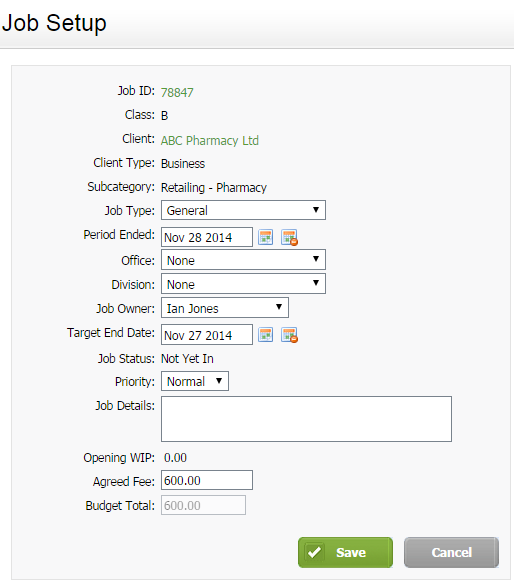
The Job Setup page provides an area to adjust or add details about jobs that have been created.
You can:
- Change the job type.
- Change the client manager, partner, owner and person currently responsible for the job.
- Add a description to identify the job.
- Change the job due date and priority.
- Change the agreed fee or budget total amount.
- Add or remove resource allocation for the job.
To edit a job's details:
- Click Jobs & Billing > Jobs.
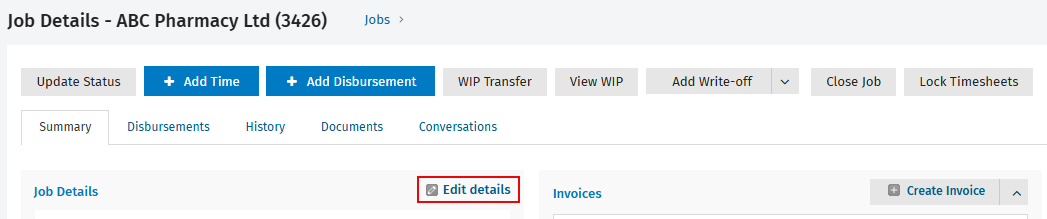
- Click a row to open the required job.
- Click Edit details of the Job Details panel to open the Job Setup page.
- Make the required changes.
- Enter useful information in the Job Details.
- Opening WIP cannot be added or edited once a job has been created.
- Job status cannot be edited here, use the Update Status button instead.
- An agreed fee becomes the budget by default.
- Click Save.
Edit job details in bulk
Jobs - Edit Jobs in Bulk
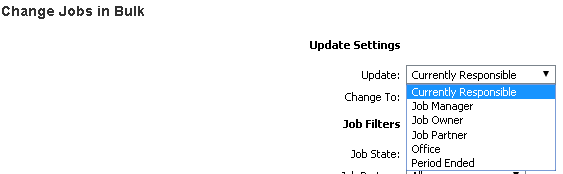
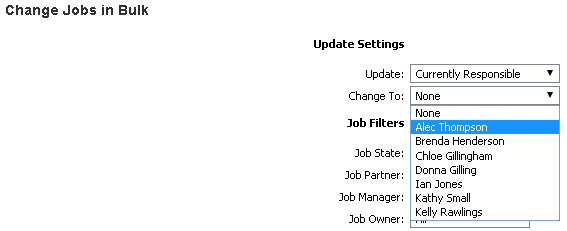
There are certain fields in the Job Details page that can be edited in bulk. These fields are: Currently Responsible, Job Owner, Job Partner, Job Manager as well as your custom groups.
- Click Jobs & Billing > Jobs.
- On the Jobs page, click Change in Bulk.
- Select the field you want to update in the Update drop-down list.
- Select the value to update the field to in the Change to drop-down list.
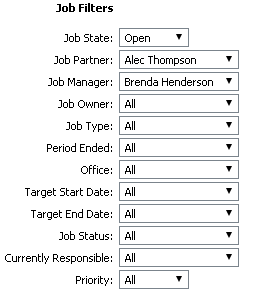
- Use the relevant Job Filters to identify the list of jobs that you want to edit.
- Click the show
 icon next to Contact Filters and Dynamic Field Filters and apply additional filters to narrow the list, if required.
 - Click Next.
- A list of contacts that match the criteria is displayed.
- By default, all the contacts in the list are displayed.
- Clear the check boxes of any contacts you do not want to edit.
- Click Apply Change.
Highlight a job
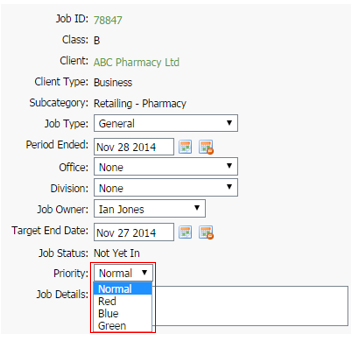
You can mark jobs with a Red, Blue, or Green priority flag to make them stand out. You can decide within your firm what the colour of each flag signifies. The default of Normal means there is no flag applied to the job; it is not highlighted.
- Click Jobs & Billing > Jobs..
- Click the row of the required job.
- Click Edit details.
- Select a color from the Priority drop-down list.
- Click Save.
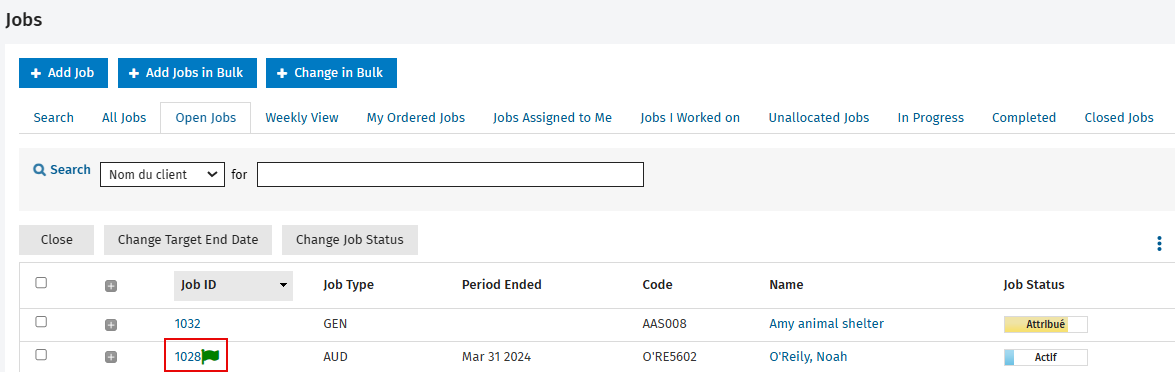
This flag can be seen in the Jobs and Job Order pages:
Jobs
Job Order

View the job details field
The text in the job details field can come from a number of sources:
- The job types settings, where you can enter a default text for all jobs of this type.
- Automatically added when jobs are created in bulk, as recurring jobs or imported.

- Added by the user when creating or updating a job, in the Job Setup page.
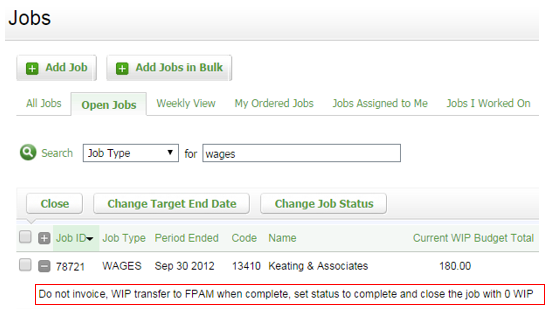
In the Jobs page
When you are in the Jobs page, click the button to see the job details for a job.
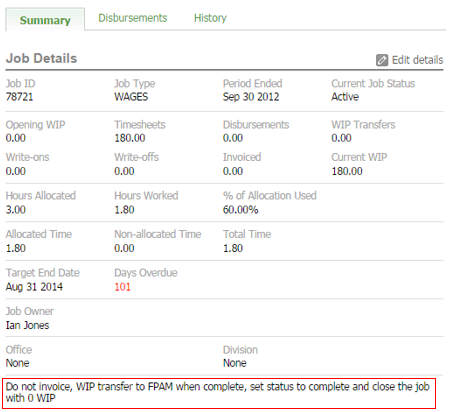
In the Job Details page
When you open the job, you can see this information at the bottom of the Job Details panel.
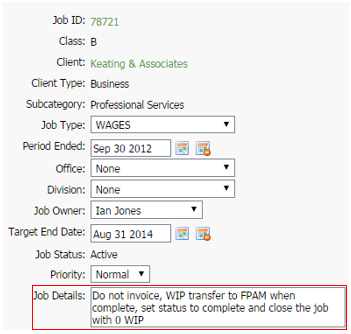
In the Job Setup page
If you edit the job, you can see and edit this information in the Job Setup page.
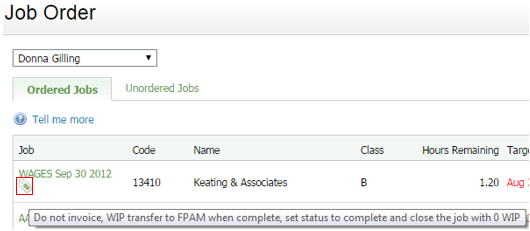
In the Job Order page
In both the Ordered Jobs and Unordered Jobs tabs, you can hover over the tag ![]() icon and you will see the job details text pop up.
icon and you will see the job details text pop up.