Add automatic resource allocations
Workflow and Resource Manager
If you know in advance who is likely to be working on a specific type of job for a particular client, you can set them up as a dedicated resource for that client. When this type of job is created for the client, the resources and allocations are automatically pulled into the job from the client's Contacts information. The resource allocations can be added one at a time to ensure greater accuracy in the client's Contacts record. Alternatively, if you want to get up and running quickly, they can be added in bulk in the Resource Allocations area.
You need to follow these steps to add automatic resource allocations before you create any jobs.
Use the Auto Resource Allocation Report to review your automatic resources.
You can manually add resources to jobs on an ad hoc basis, if required. Click here to learn more about allocating resources.
Contents
Add automatic resource allocations for a specific client
- Click Contacts > Clients.
- Locate and click the row of the required client.
- Click the Resourcing & Fees tab.
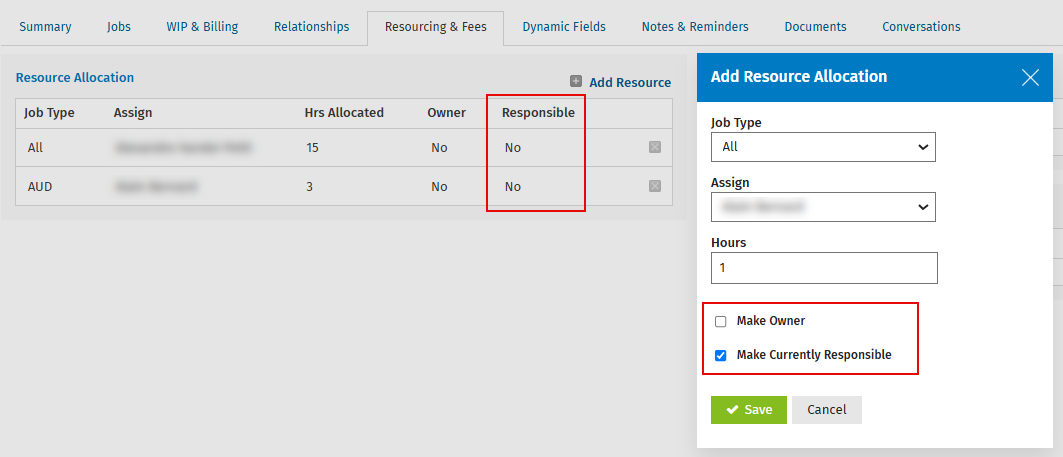
- Click Add Resource in the Resource Allocation panel.

- Select the job type.
- Select the staff member you want to assign the job to.
- Specify the number of hours the staff member should take to complete the job.
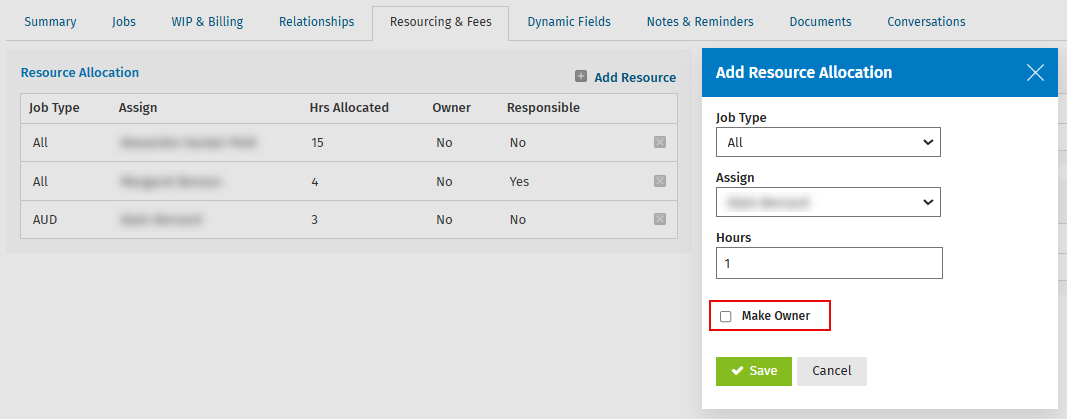
- Select the Make Owner check box, if you want this staff member to be in charge of the job - this overrides the default job owner that can be set to be the partner or manager in the job settings.
- Yes will appear in the Owner column for that staff member and when they are allocated to the newly created job, they will be listed as the owner. No e-mail will be sent, however, in this situation.
- If you do not select the check box (default), the column will have No listed for this resource and when they are added to the job they will not be made the owner for the newly created job
- Only one resource can be set to be owner for a job, so if two resources are set up as resource allocations for the same job type, only one can be marked as Yes in the Owner column.
- Select the Make Currently Responsible check box, if you want this staff member to be responsible for the job.
- This option is only available if you have activated the applicable setting.
- Yes will appear in the Responsible column for that staff member and when they are allocated to the newly created job, they will be listed as currently responsible. No e-mail will be sent, however, in this situation.
- If you do not select the check box (default), the column will have No listed for this resource and when they are added to the job they will not be made currently responsible for the newly created job
- Only one resource can be set to be currently responsible for a job, so if two resources are set up as resource allocations for the same job type, only one can be marked as Yes in the Responsible column.
- The person currently responsible for the job can be changed later.
- Click Save.
If you have activated the setting to track who is currently responsible for jobs:
If you have not activated the setting to track who is currently responsible for jobs:
Add automatic resource allocations to clients in bulk
Rather than add an automatic resource allocation to each client individually, you can add it to clients in bulk. This is especially useful during your Jobs & Billing set up as it saves you a lot of time. You do this via the Resource Allocations area and then CCH iFirm adds the automatic resource allocation to the Contacts records of the relevant clients.
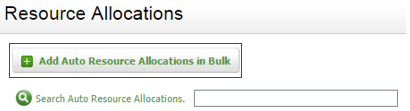
- Click Jobs & Billing > Resource Allocations.
- Click Add Auto Resource Allocations in Bulk.
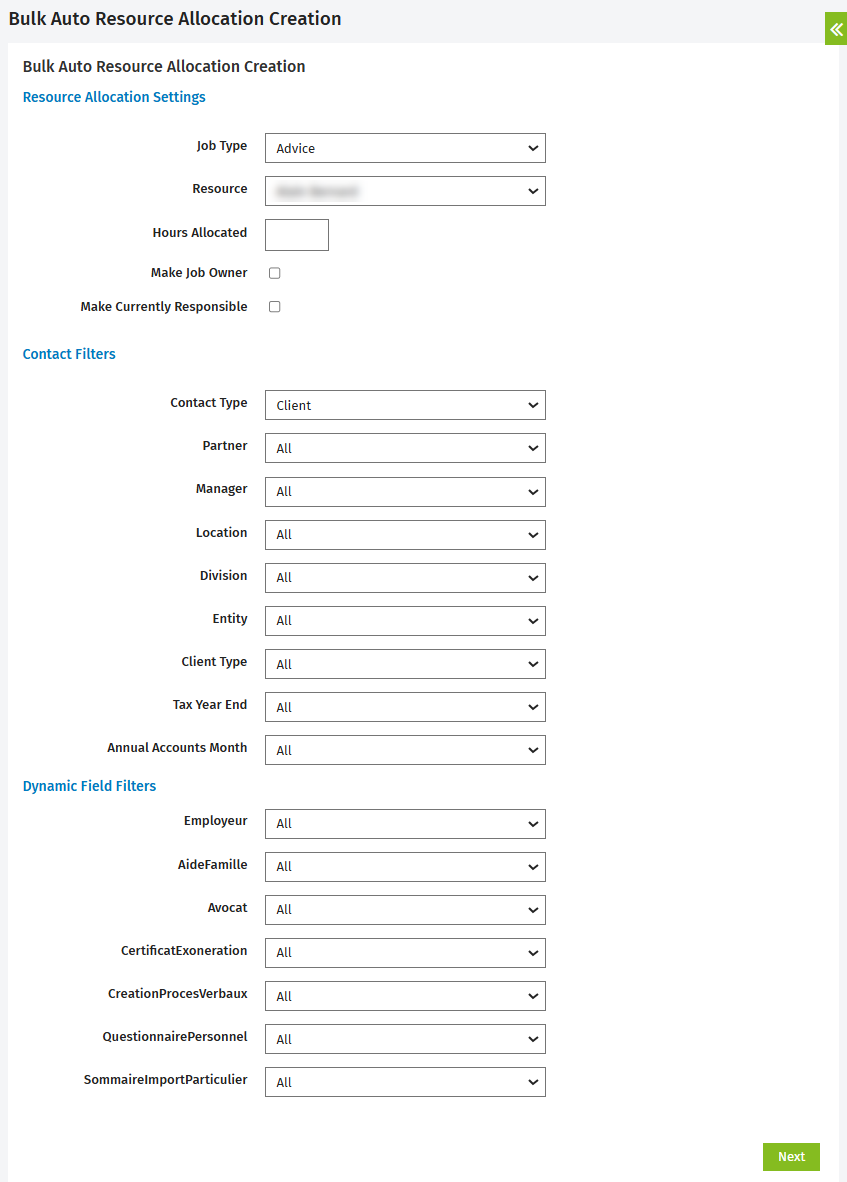
- Select your preferred resource allocation settings (used to create the resource allocation in the clients' contact records):
- Select the job type you want the automatic resource allocation to apply to.
- Select the resource (staff member) you want to assign the type of job to.
- Specify the number of hours the staff member should take to complete the job (must be greater than 0).
- Select the Make Job Owner check box, if you want this staff member to be in charge of the job.
- Select the Make Currently Responsible check box, if you want this staff member to be responsible for the job.
- This option is only available if you have activated the applicable setting.
- The person currently responsible for the job can be changed later.
- Use the Contact Filters and Dynamic Field Filters areas to determine the clients that will be assigned this automatic resource allocation.
- Click Next to view the list of clients that match your selection criteria.
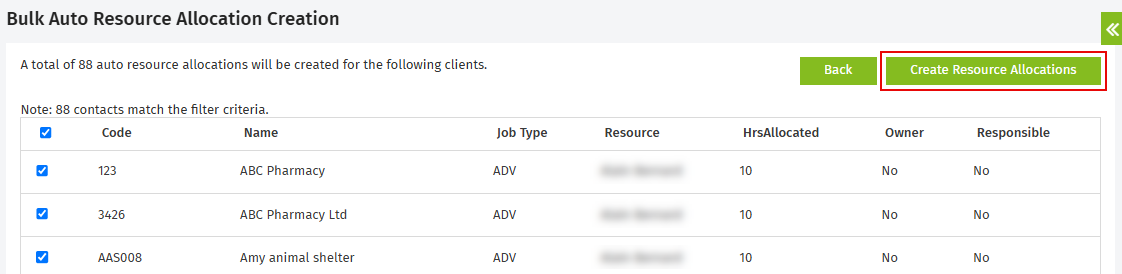
- Review the list of clients that will have the automatic resource allocation added to their Contacts record.
- Clear the check boxes of any clients you do not want the automatic resource allocation added to.
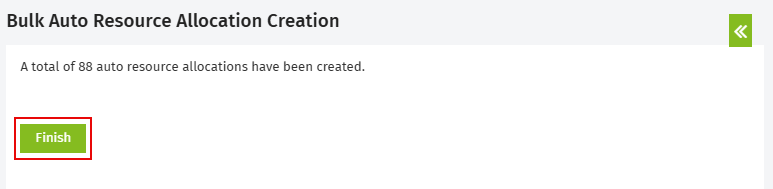
- Click Create Resource Allocations to add the automatic resource allocation to the selected clients.
- Click Finish.
The automatic resource allocation appears in each of the selected client's Contacts record. For example, in ABC Pharmacy, Jean Tremblay is allocated 2 hours to do the Review Engagement job, as displayed in the Resource Allocation panel:
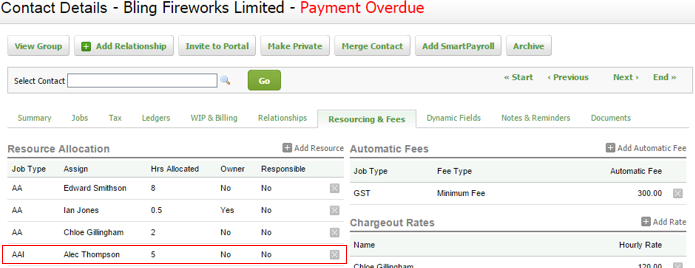
The automatic resource allocation also appears automatically when you create a new job (for the selected job type) for any of the selected clients. For example, when you add a new job Review Engagement job for ABC Pharmacy, Jean Tremblay is allocated 2 hours to do it, as displayed in the Resources panel:

Using roles with resource allocations
When you set up resource allocations, you can assign roles to users on a job.
For example, you can assign a Preparer role to a specific job type.
To set up roles for resource allocations
When adding a resource allocation, you can select a role for that task. Roles identify who should work on a task in Task Management or on a job in the Capacity Planning tool.
-
Select a role for a single job type or for all job types.

-
For Task Management, if the job flow template uses a role, the user assigned to that role will be automatically assigned to the task when the job is created.
Note: If no user is assigned to a role, tasks will be assigned to the job manager, then to the job partner, and finally, to the contact manager. -
In the Capacity Planning tool, the role is assigned to the job. If a user is assigned to that role, you can track that user’s capacity for the role. For example, if a user is a preparer and a reviewer on a job, you can set different target start and end dates for each of those roles in the Capacity Planning tool.
-
When a job is created, the role is automatically applied to either the tasks or to the Capacity Planning tool.