Edit or delete automatic resource allocations
Once you add automatic resource allocations for clients, you can edit the details (such as the job type, resource or hours) for an individual client in Contacts or you can edit them in bulk in the Resource Allocations page. You can also edit some individual details in the Capacity Planning and Jobs pages.
There are a number of reasons why you may need to change the allocations for a user:
- You may have over allocated work to one user (they are showing a negative variance).
- You may have under allocated work for a user.
- A user is going to be unavailable for a period of time (e.g. unexpected sick leave, holiday, exams).
- A user has retired or resigned.
- You have identified bottlenecks in certain months and work must be re-distributed.
Contents
- Change the job type
- Change the resource
- Change the hours
- Edit automatic resource allocations individually in Contacts
- Edit automatic resource allocations individually in the Resource Allocation area
- Edit automatic resource allocations in bulk
- Change a non-allocated resource to an allocated resource
- Delete automatic resource allocations
Change the job type
You can change the job type you set on an automatic resource allocation in a number of ways:
- For an individual client in Contacts.
- For an individual automatic resource allocation in the Resource Allocations area.
- For automatic resource allocations in bulk in the Resource Allocations area.
Change the resource
You can change the resource (user/staff member) allocated to a job, if the job is still expected to be completed in the month allocated but a new user needs to be allocated to the job. For example, if Chloe is the original resource, and you change the resource to Victoria, the resources allocations change as follows:
- If Chloe had used some of her allocations, the remaining hours are allocated to Victoria.
- If Chloe had not used up any allocations, she is deleted from the allocated resources for this job, and Victoria gets all the hours allocated.
You can change the resource in a number of ways:
- For an individual user in Capacity Planning.
- For an individual client in Contacts.
- For an individual automatic resource allocation in the Resource Allocations area.
- For automatic resource allocations in bulk in the Resource Allocations area.
Change the hours
You can change the allocated hours you set on a resource allocation (either manual or automatic) in a number of ways:
- For an individual job in the Job Setup page (suitable if you have manually added a resource to a job).
- For an individual client in Contacts.
- For an individual automatic resource allocation in the Resource Allocations area.
- For automatic resource allocations in bulk in the Resource Allocations area.
Edit automatic resource allocations individually in Contacts
- Contacts - View, Add and Edit Contacts;
- Workflow and Resource Manager
- Click Contacts > Clients.
- Locate and click the row of the required client.
- Click the Resourcing & Fees tab.
- Click on the resource allocation you want to edit.
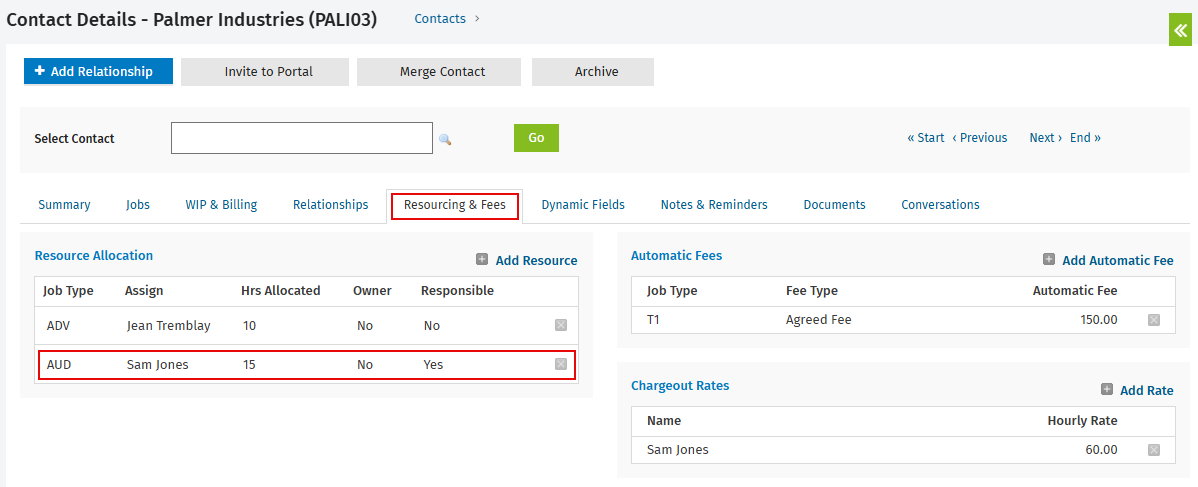
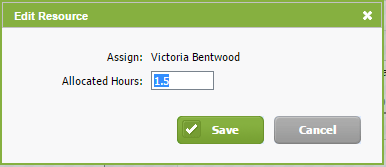
- Edit the automatic resource allocation as required:
- Select a new Job Type, if required.
- Assign a new resource (staff member/user), if required.
- Change the allocated Hours, if required.
- Select or clear the Make Owner or Make Currently Responsible check boxes, as required.
- Click Save.
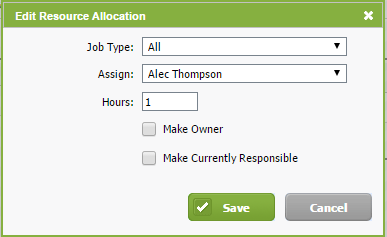
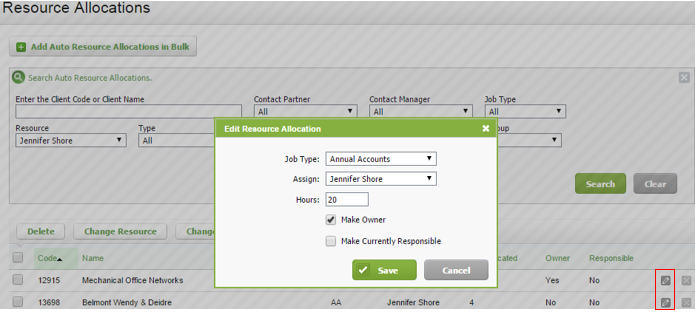
Edit automatic resource allocations individually in the Resource Allocations area
Workflow and Resource Manager
- Click Jobs & Billing > Resource Allocations.
- Locate the automatic resource allocation you want to edit.
- Click the Edit Resource Allocation button
 at the end of the row.
 - Edit the automatic resource allocation as required:
- Select a new Job Type.
- Assign a new resource (staff member/user).
- Change the allocated Hours.
- Select or clear the Make Owner or Make Currently Responsible check boxes.
- Click Save.
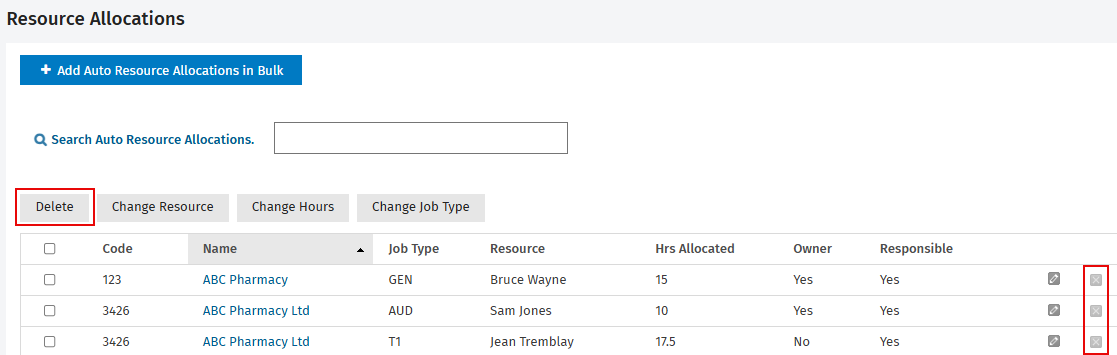
Edit automatic resource allocations in bulk
Workflow and Resource Manager
You can change the resource (staff member/user), number of allocated hours or job type of automatic resource allocations in bulk.
- Click Jobs & Billing > Resource Allocations.
- Select the check boxes for automatic resource allocations that you want to edit the details for in bulk.
- Edit the details in bulk as required:
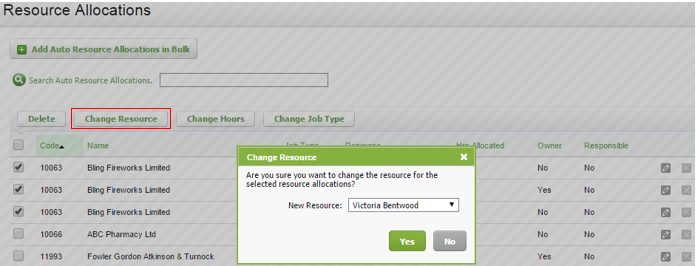
- Click Change Resource and select another resource in the New Resource list and click Yes.
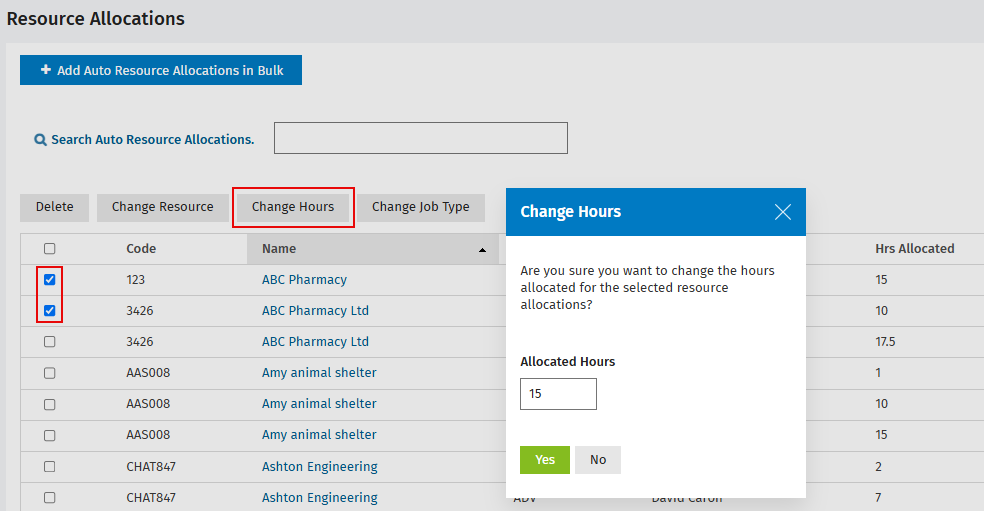
Click Change Hours, enter the new number of Allocated Hours and click Yes.
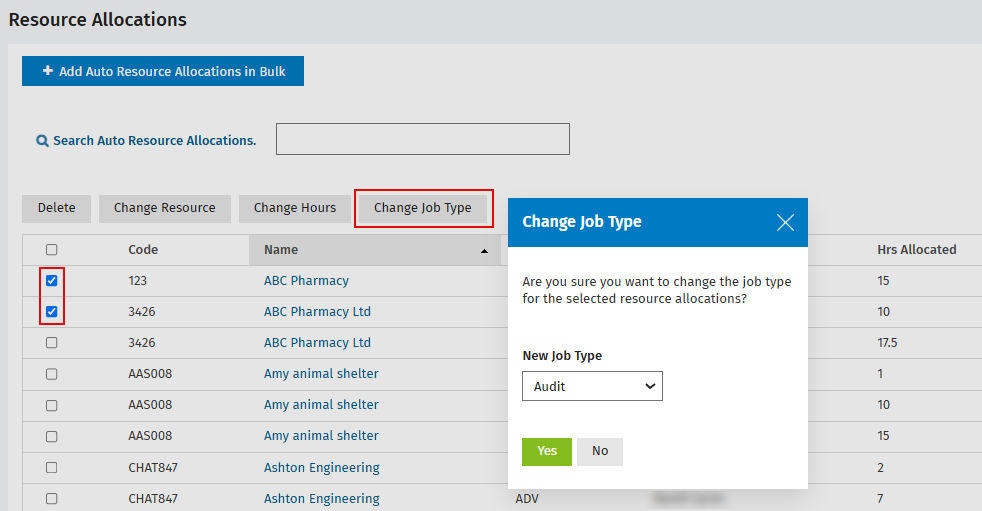
Click Change Job Type, select the New Job Type and click Yes.
Change a non-allocated resource to an allocated resource
Jobs - View, Add and Edit Jobs
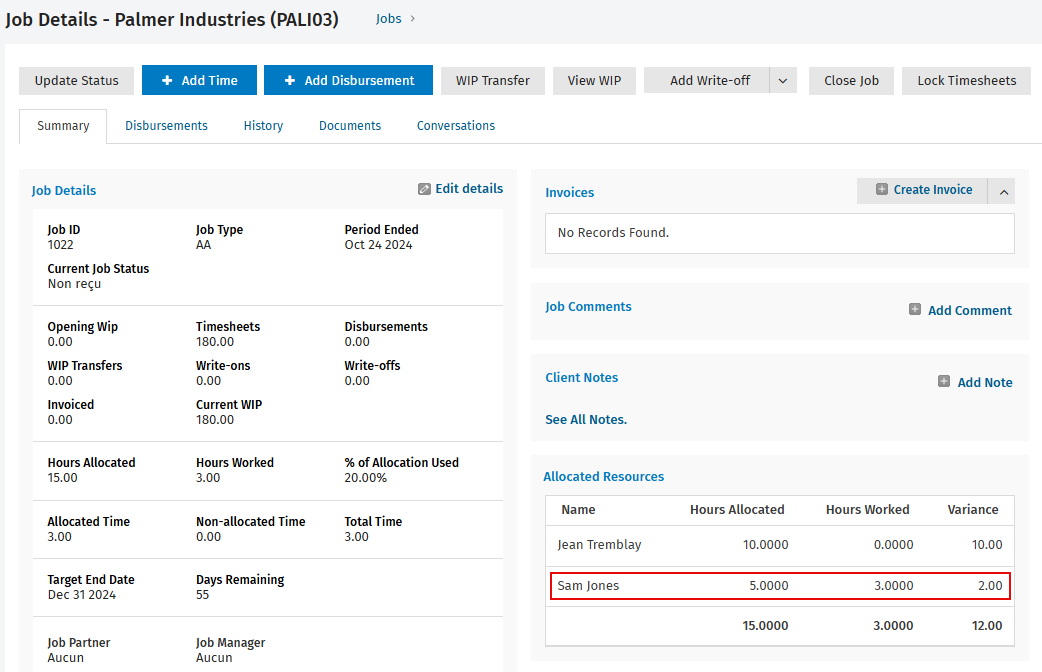
If a user who is not an allocated resource enters time against a job, they appear on the Non-Allocated Resources panel of the Job Details page:

They also appear on the Resources panel of the Job Setup page with the hours allocated set to None:
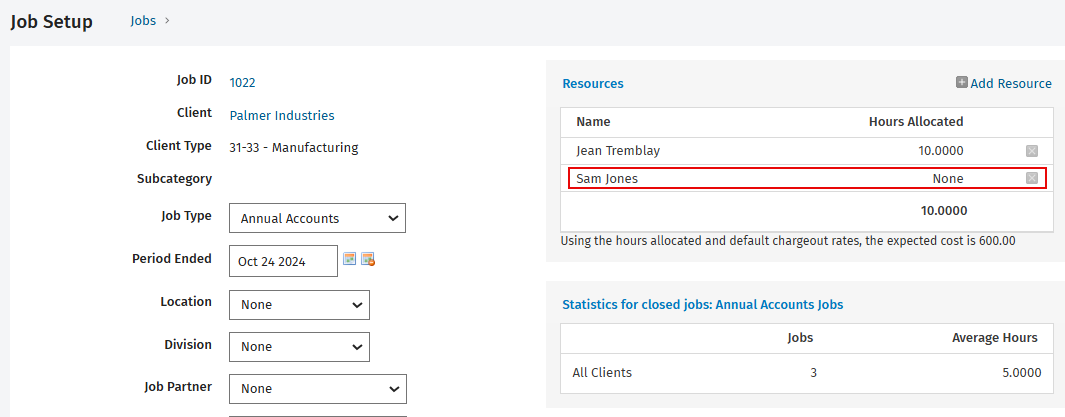
You can change this user to be an allocated resource.
- Click Jobs & Billing > Jobs.
- Locate and select the row of the required job to open it.
- Click Edit details in the Job Details panel to open the Job Setup page.
- Click the row of the non-allocated resource (user) in the Resources panel.
- Allocate some time.
- Click Save.
The user moves from the Non-Allocated Resources panel to the Allocated Resources panel in the Job Details page.
Delete resource allocations
You can delete a resource allocation in a number of ways:
- For an individual job in the Job Setup page (suitable if you have manually added a resource to a job).
- For an individual client in Contacts.
- For either individual or multiple automatic resource allocations in the Resource Allocations area.
Delete an individual automatic resource allocation in Contacts
Contacts - View, Add and Edit Contacts
- Click Contacts > Clients.
- Locate and click the row of the required client.
- Click the Resourcing & Fees tab.
- Click the Delete resource allocation
 icon on the row of the entries for the relevant user.
 - Click Yes to confirm.

Delete automatic resource allocations in the Resource Allocations area
Workflow and Resource Manager
- Click Jobs & Billing > Resource Allocations.
- Locate the resource allocation(s) you want to delete.
- Delete individually or in bulk, as required:
- Click the Delete Resource Allocation
 icon at the end of the row of the individual resource allocation and click Yes.
 - Select the check boxes of the resource allocations you want to delete in bulk, click Delete and click Yes.
- Click the Delete Resource Allocation