Set up fixed price agreements (FPAs)
In order to work with FPA jobs, some setting up is required.
Contents
Add an invoice text item for FPAs
You need to add an invoice text item for use with the fixed price agreement job types. You can then select this text item when you create the FPAM job type (below).
- Click Settings > Jobs & Billing.
- Click Billing Templates.
- Click the Invoice Text tab.
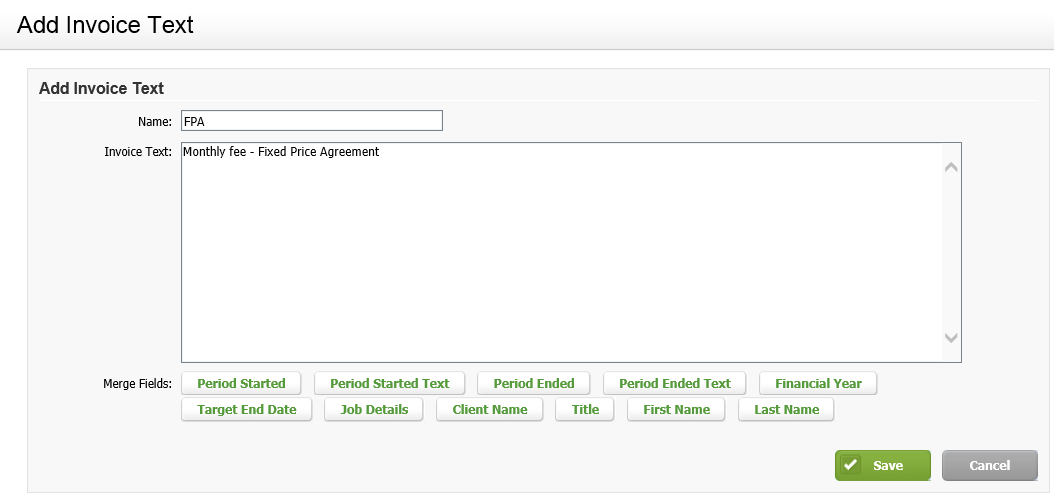
- Click Add Invoice Text.
- Type FPA as the Name.
If your firm is also using CCH iFirm in French or if you have to communicate with some French speaking contacts, you have to click the button and then enter the French description of the label.
 - Type your invoice text, for example, Monthly fee - Fixed Price Agreement.
- Click Save.
- Repeat steps 4 to 7 to add an interim invoice text item, if required.
For more information, click the following links:
Create the fixed price agreement master (FPAM) job type
The FPAM job type is very basic compared to other more complex job types that require additional information.
Settings - Jobs & Billing
- Click Settings > Jobs & Billing.
- Click Job Types.
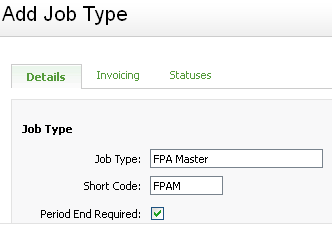
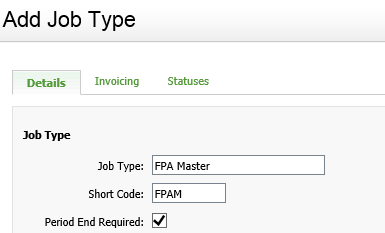
- Click Add Job Type.
- Type FPA Master in the Job Type field.
If your firm is also using CCH iFirm in French or if you have to communicate with some French speaking contacts, you have to click the button and then enter the French description of the label. - Type FPAM in the Short Code field.
- Click the Invoicing tab.
- Select the FPA text item from the Invoice Text list.
- Select Yes from the Use Interim Text list, if required, then select the FPA interim text item from the Interim/Progress Text list.
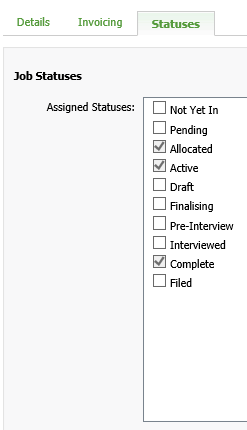
- Click the Statuses tab.
- Select the job statuses that apply (the default Allocated, Active and Complete statuses should suffice, but you can select more).
- Click Save.
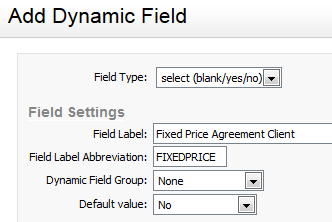
Add a dynamic field for fixed price agreements (optional)
Settings – Contacts
If you have a large number of clients that require FPA jobs, you can create a dynamic field in Contacts that you can use to identify these clients. You can then bulk create the first set of FPA jobs, filtering for this dynamic field, ensuring that only FPA clients are selected to create an FPA job. This is optional: the other approach is to create each FPA job manually.
- Click Settings > Contacts.
- Click Dynamic Fields.
- Click Add Dynamic Field.
- Click the arrow beside Field Type and select select (blank/yes/no).
- Type a name for the field in the Field Label field, for example Fixed Price Agreement Client.
If your firm is also using CCH iFirm in French or if you have to communicate with some French speaking contacts, you have to click the button and then enter the French description of the label. - Type a name for the field in the Field Label Abbreviation field, for example FPA.
- Set the Default value to Blank.
- Adjust any other fields, as required.
- Click Save.
The field displays under the Dynamic Fields tab of each client's profile and retains the default settings until you change them.