Use invoice text
Invoicing - View, Add and Edit Invoices
When you add invoice text items, they can then be used with specific job types, group lines, simple lines and WIP lines on invoices. The use of text items removes the need to type descriptions manually when customizing an invoice. You can also add text to use with interim/progress invoices.
Contents
Add invoice text to a WIP line on a draft invoice
You can add invoice text to an existing WIP line on a draft invoice. This enables you to easily consolidate descriptions into one WIP line.
When you add a WIP line to a draft invoice:
- Click Jobs & Billing > Invoices.
- In the Draft Invoices tab, select the draft invoices you want to add a WIP line to.
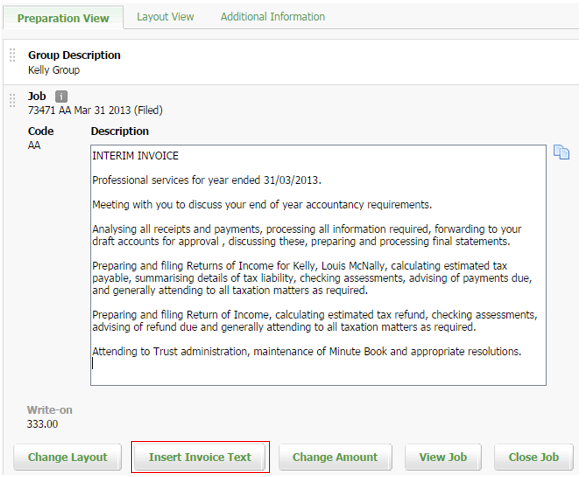
- In the Preparation View tab, click the job details row to view the Description field, then click the Description field to put it in edit mode. .
- Position the cursor where you want to insert the text item, and click Insert Invoice Text.
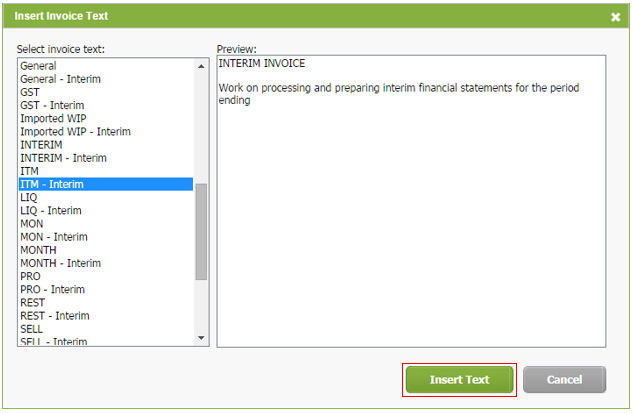
- Click the invoice text you want to insert (you can see a preview of the text in the read-only field beside it).
- Click Insert Text - the text is inserted into the WIP line where the cursor was previously positioned and the relevant data is inserted into the merge fields. The text will be inserted in the communication language selected in the Contacts details page.
- Continue creating your draft invoice.
Add invoice text to non job-related lines on a draft invoice
You can add invoice text to a simple line or group of lines on a draft invoice. This enables you to easily create a description.
When you add a simple line or group line to a draft invoice:
- Click Jobs & Billing > Invoices.
- Click Add Invoice.
- In the Invoice To field, select a client to invoice, then click Add Invoice.
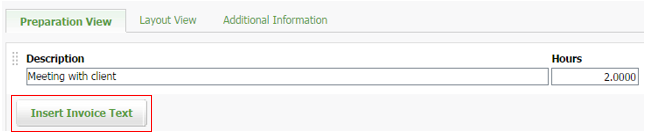
- Click Add Simple Line or Add Group Line.
- Click the Description field to put it in edit mode, then click Insert Invoice Text.
- Click the invoice text you want to insert (you can see a preview of the text in the read-only field beside it).
- Click Insert Text - the text is inserted into the line where the cursor was previously positioned (merge fields are not merged in simple and group lines). The text will be inserted in the communication language selected in the Contacts details page.
- Continue creating your draft invoice.