Learn about the common features in CCH iFirm
General layout
Navigating within CCH iFirm is easy and intuitive, as standard browser navigation rules apply. When you first log in to CCH iFirm you will see the dashboard, along some menus and links. Two things determine what you will be able to see on the screen: the CCH iFirm modules that you have activated, and your user profile. For example, if you are not an admin user, you will not have access to the Settings area.
Consult the sections below to learn how to get help, read announcements, access the demo site, log out, access Jobs & Billing information, access your user profile, access your CCH iFirm applications, use quick links, view the dashboard.
Get help
In the drop-down menu available at the top of the page, click your name (from any page). then click the Help tab. Type a keyword or phrase in the search box and press Enter to view your search results in this Help Centre or click the green link to go straight to the home page. Make sure that you read about how to use the Help Centre to get the most out of it.

Read announcements
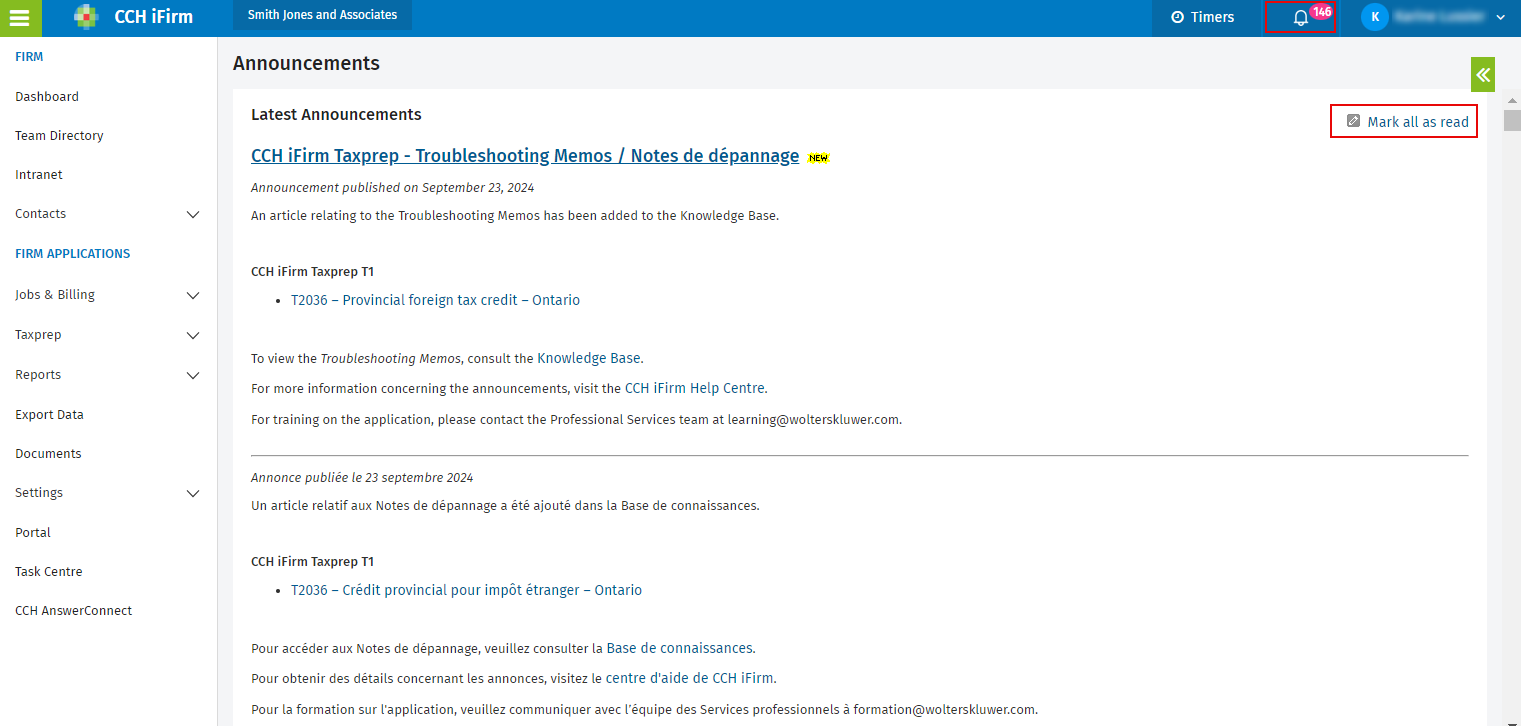
Access CCH iFirm Announcements - this is how we tell you about new product updates and important news. A number will appear next to the ![]() icon whenever we post a new announcement, which can happen at any time.
icon whenever we post a new announcement, which can happen at any time.
While we encourage all users to read announcements, there may be a number of announcements that do not apply to you. In which case, you can click Mark all as read to remove all of the yellow New icons and reset the number indicator in the header back to zero. This is a quick way to mark them all as "read," rather than clicking each one. Also, when creating a new CCH iFirm user, all announcements show up as "new." The Mark all as read option is a simple way to set all announcements to "read" status.
Access the CCH iFirm demo site
You can use a demo site to view sample data and try out some features. This is particularly useful during your initial CCH iFirm setup tasks or for internal training purposes.
Click here to learn how to access the CCH iFirmdemo site.
Log out
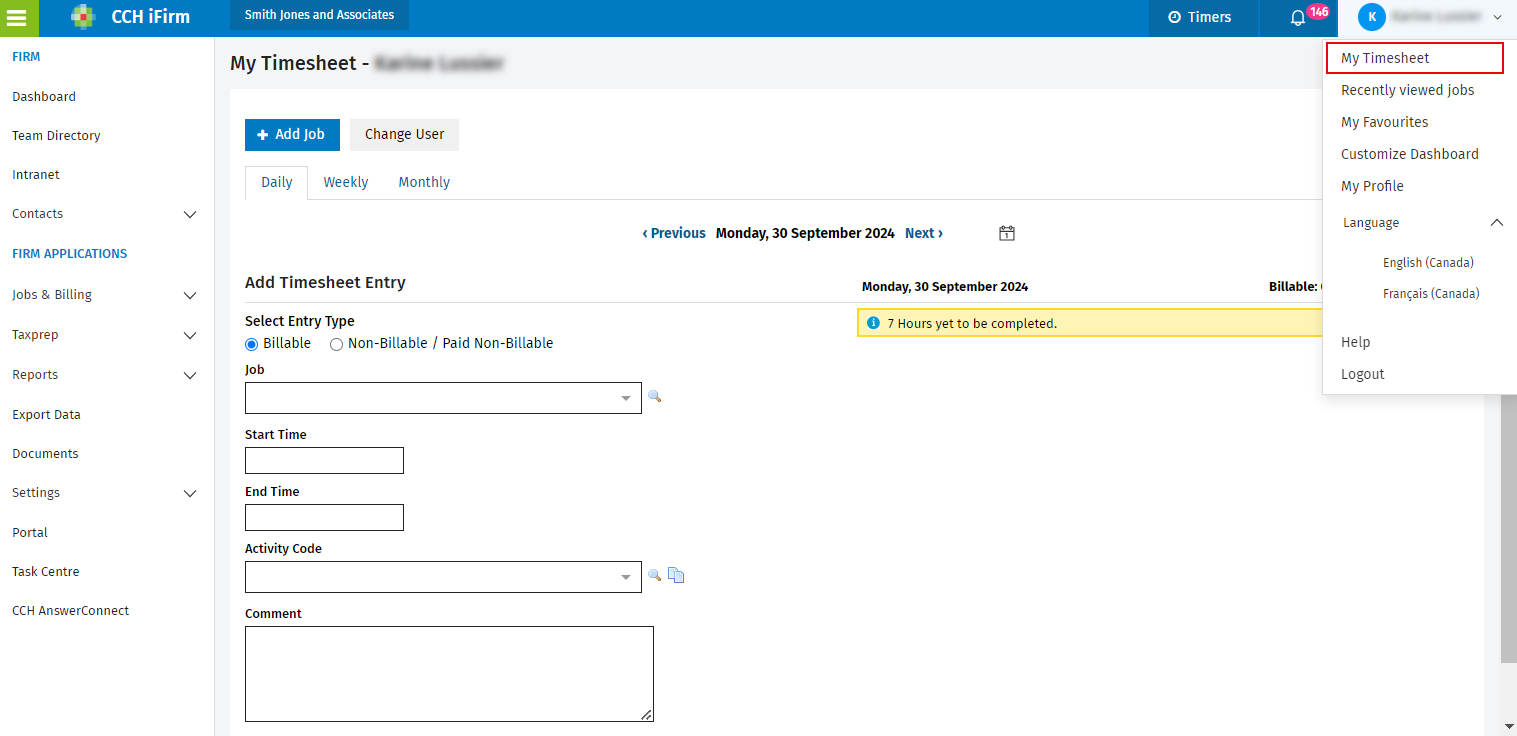
To securely log out of CCH iFirm, click the drop-down menu at the top of the page, then click Logout.

Access Jobs & Billing information
Click the My Timesheet or Recently viewed jobs links on the top right menu, if you are a Jobs & Billing user.
Access your user account information
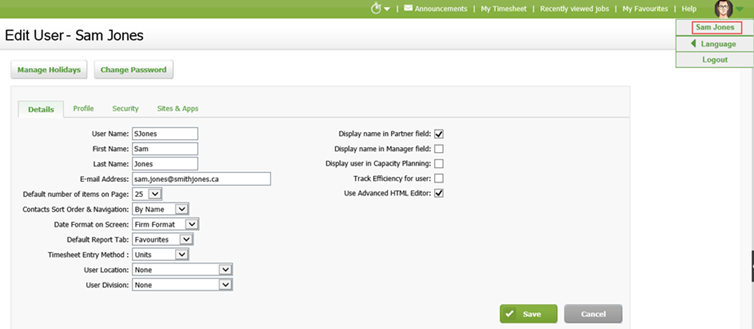
Click My Profile in the drop-down menu in the top right corner of the page to access your user profile, where you can change your settings to suit your needs, such as setting the default number of items to appear on a page. You can also add your personal information on the Profile tab.
Access your CCH iFirm applications
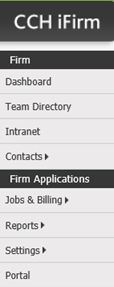
Use the Firm menu on the left of the screen to access your CCH iFirm applications. For example, click Contacts to access your client details. If you are using a laptop or a small screen, click the tab between the panel and the dashboard to hide this panel, To display the panel again, click the tab.
There may be menu items with a "?" next to them. These are CCH iFirm applications that you do not own. For more information on one of these applications, click on it.
Use quick links
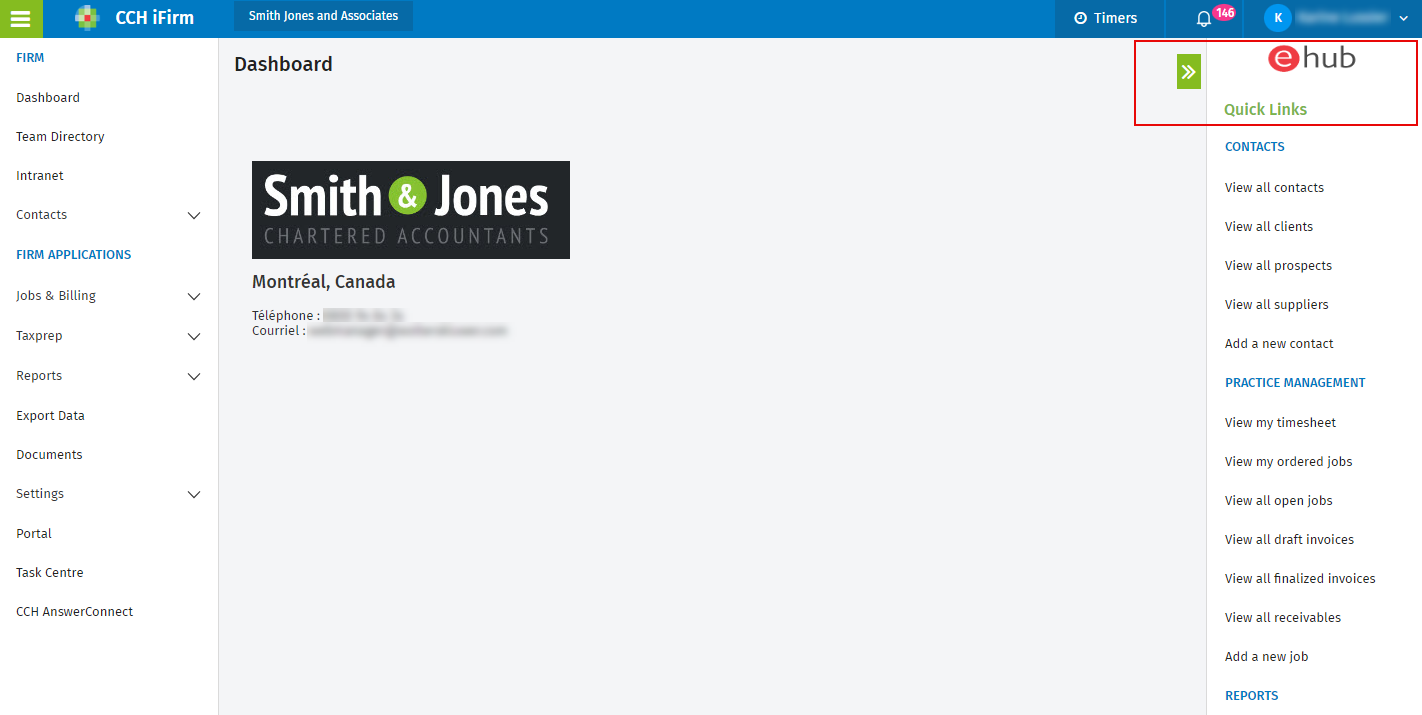
Use the Quick Links panel on the right hand side of the screen for quick links to relevant pages. This panel contains a collection of useful links that relate to the page you are currently on, so they will change as you move around CCH iFirm. If you are using a laptop or a small screen, click the tab between the panel and the dashboard to hide this panel, To display the panel again, click the tab.
View the dashboard
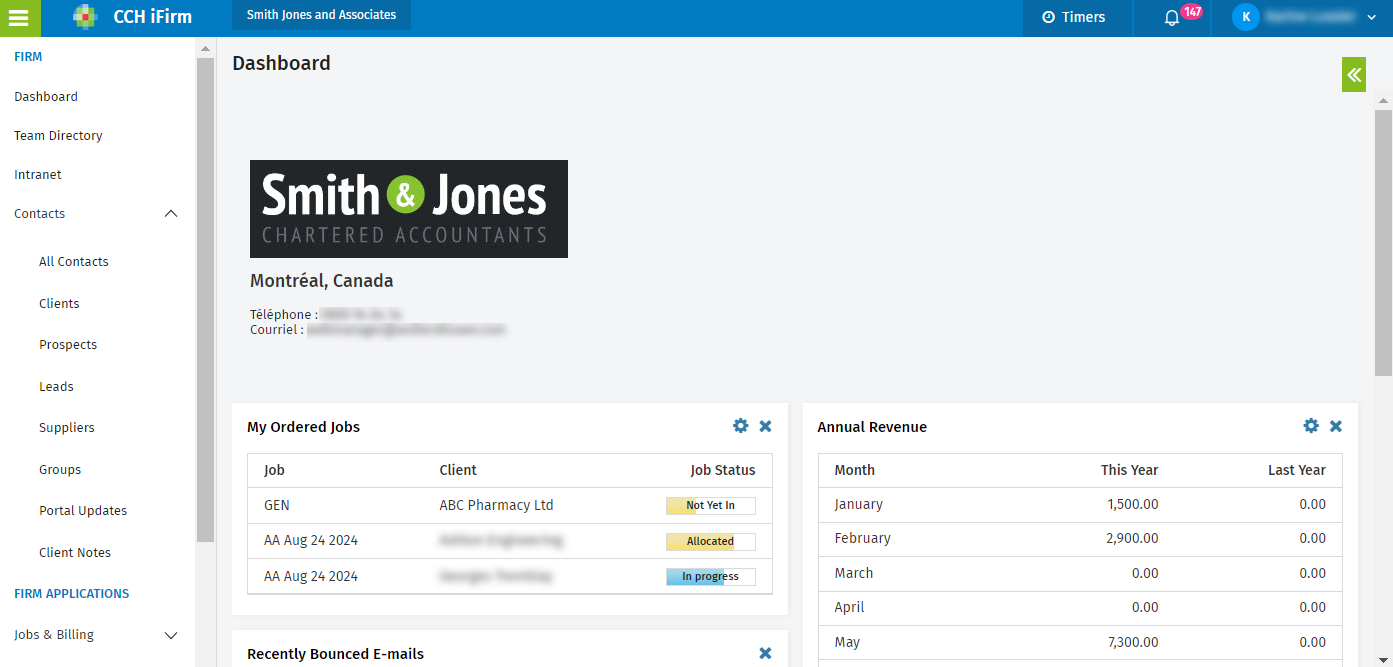
Use the dashboard to view the many different widgets that present live information on the key areas of your firm. The widgets are also hyperlinked to relevant pages in CCH iFirm. Hover over them and if you see a hand pointer, you can click to obtain more information.
Buttons and tabs
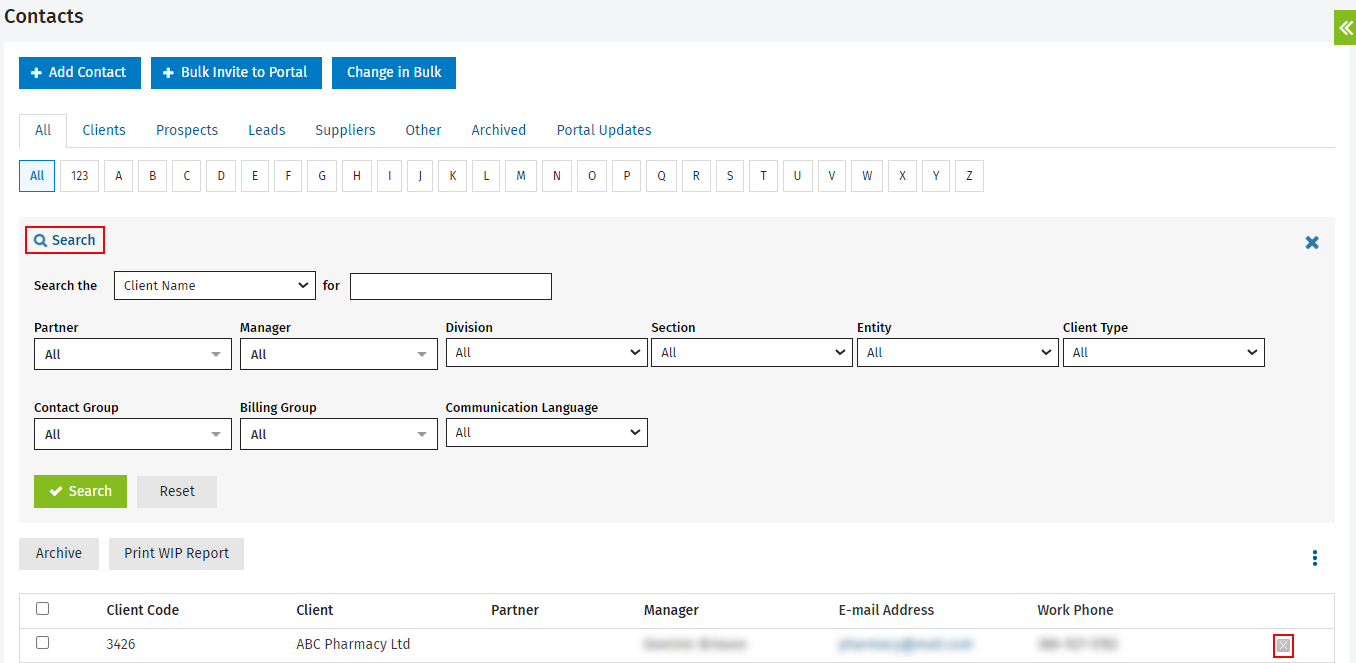
Many pages in CCH iFirm consist of buttons that carry out commands or actions, such as create, edit, print and so on. For example, click Add Contact to create a contact record. You will also see tabs that when clicked, lead you to more detailed information.

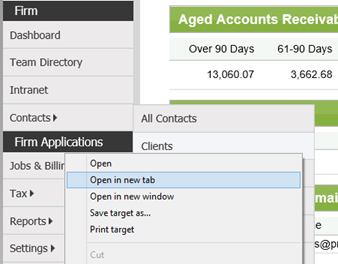
Where possible, we recommend that you make use of the option to open new tabs and windows so you can have multiple pages open. Having them side by side helps you to work more efficiently. Right-click an item menu to display this option.
Search, sort and filter
Whenever you see a list of items, you can usually click the search icon to open the expanded search. The filtering options in the search vary according to the page you are on. To delete any search and filtering options just click Reset.
You can also sort the list by clicking a column heading, if it is a green hyperlink. The list will be sorted according to that heading in ascending order. Click again to sort the list in descending order.
Other common functions:
- To delete a row, click the delete
 icon, where available.
 - To access more detailed information, click an item. For example, click a client to view the client details.
- To select an item, use the check box to its left. To select all items, use the check box at the top beside the column headings.
