Add HTML content
Intranet - Add and Edit Content
HTML content displays within the content area of Intranet instead of opening in another program like Microsoft Word or Excel, . You can add new HTML content using one of the default formats provided.
- Click Intranet > [Content] > Add Content.
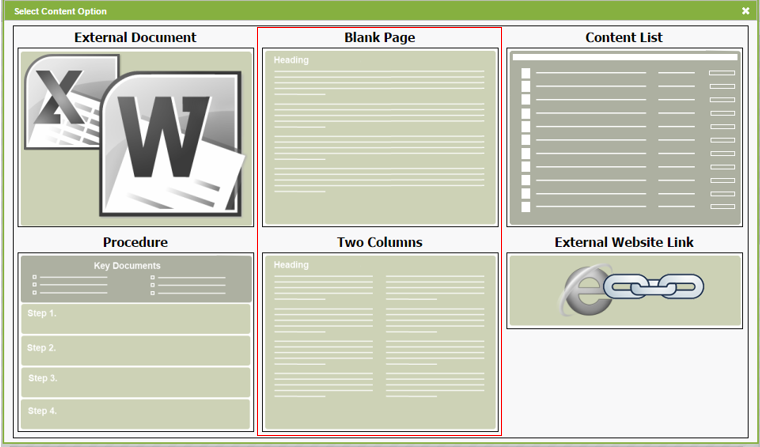
- Click Blank Page or Two Columns, as required.
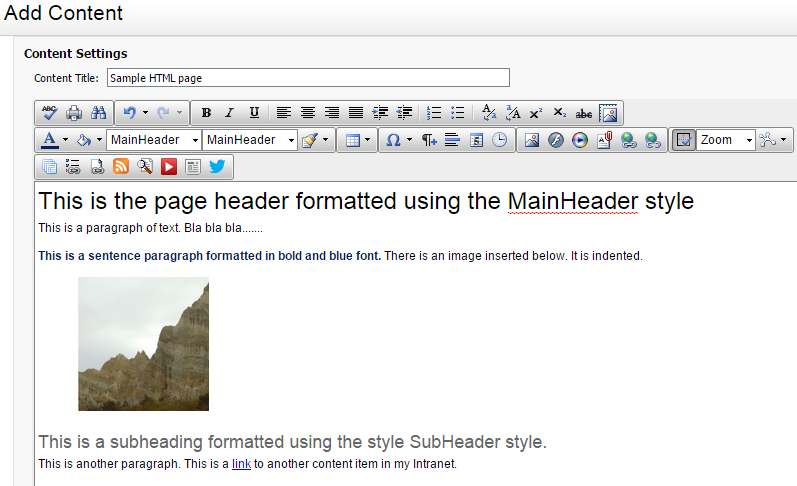
- Type a content title.
- Add your content using the HTML editor buttons provided.
- Type and format your text.
- Insert a link, image or dynamic content, or table.
- If you enable the advanced HTML editor in your user account, you can use additional HTML editor tools. For example, you can apply a style to the text, insert a table or upload files. Read more about the advanced HTML editor functions here..
- Type a description.
- We recommend you identify the type of document. For example, is it a letter, form, report, checklist, and so on. You should briefly state what the content item is used for. You should also state who the content is for, if it is not implied. For example, is it for dealing with a client or the BN or the SIN , or it is for internal use.
- A good description is important for two reasons. Firstly, it is displayed when users do a search, so it helps them to identify and select the correct content item. It is also used by the administrator when building and linking procedures. When you link a document, there is no way to quickly open and check its contents, so the description tells them what the item contains and what it is used for.
- Change the status Hidden, if required.
- Assign tags, if required.
- Add this content to your menu, if required:
- Select the Show content in the navigation, with a menu label of check box.
- Edit the default menu label, if required.
- Click Save & Publish or Save as Draft.